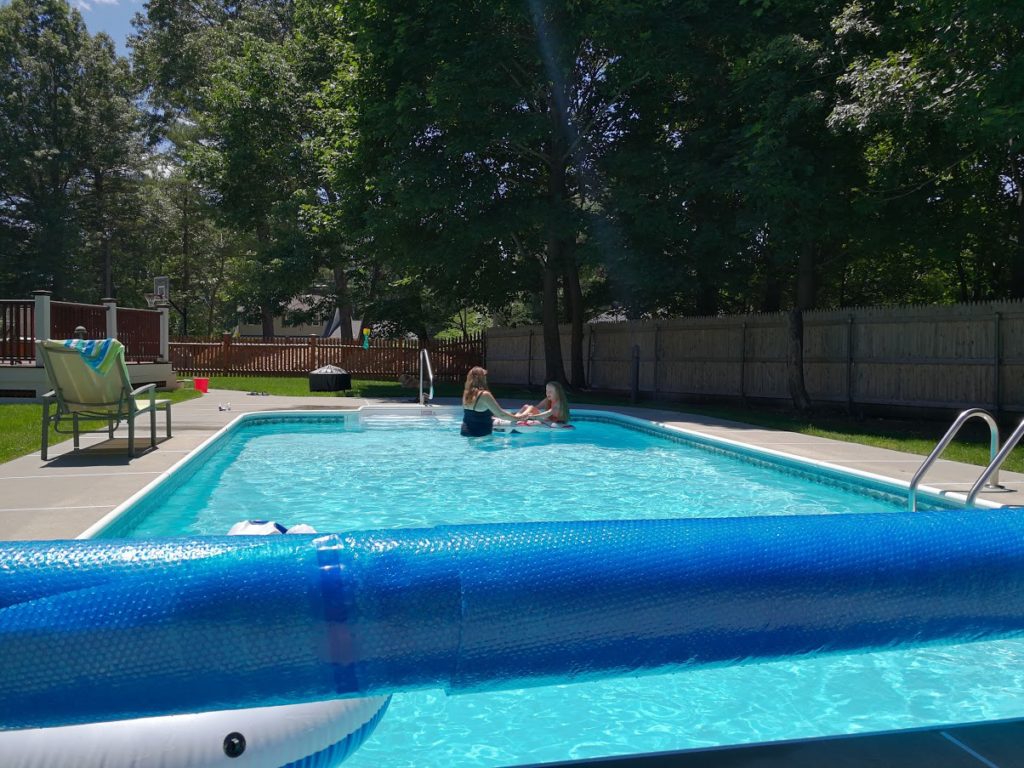
My 16×32 inground liner pool was built in 2006 and came with a Hayward EC65 filter. When the system works, it is great. For the first five or six years, I had no problems. I back-washed a couple of times per season, and in between it ran fine for weeks.
Today, this is no longer the case, We are on the third EC65. Most recently, I replaced it 2 years ago when we had a flow problem that I just could not resolve in any other way. Buying just the nest with the grids makes no financial sense, because a whole new filter costs much less than this part. As soon as I inserted the new nest into the old bottom, it worked fine again for the rest of the season. I did not bother trying to understand what had caused the problem the last time.
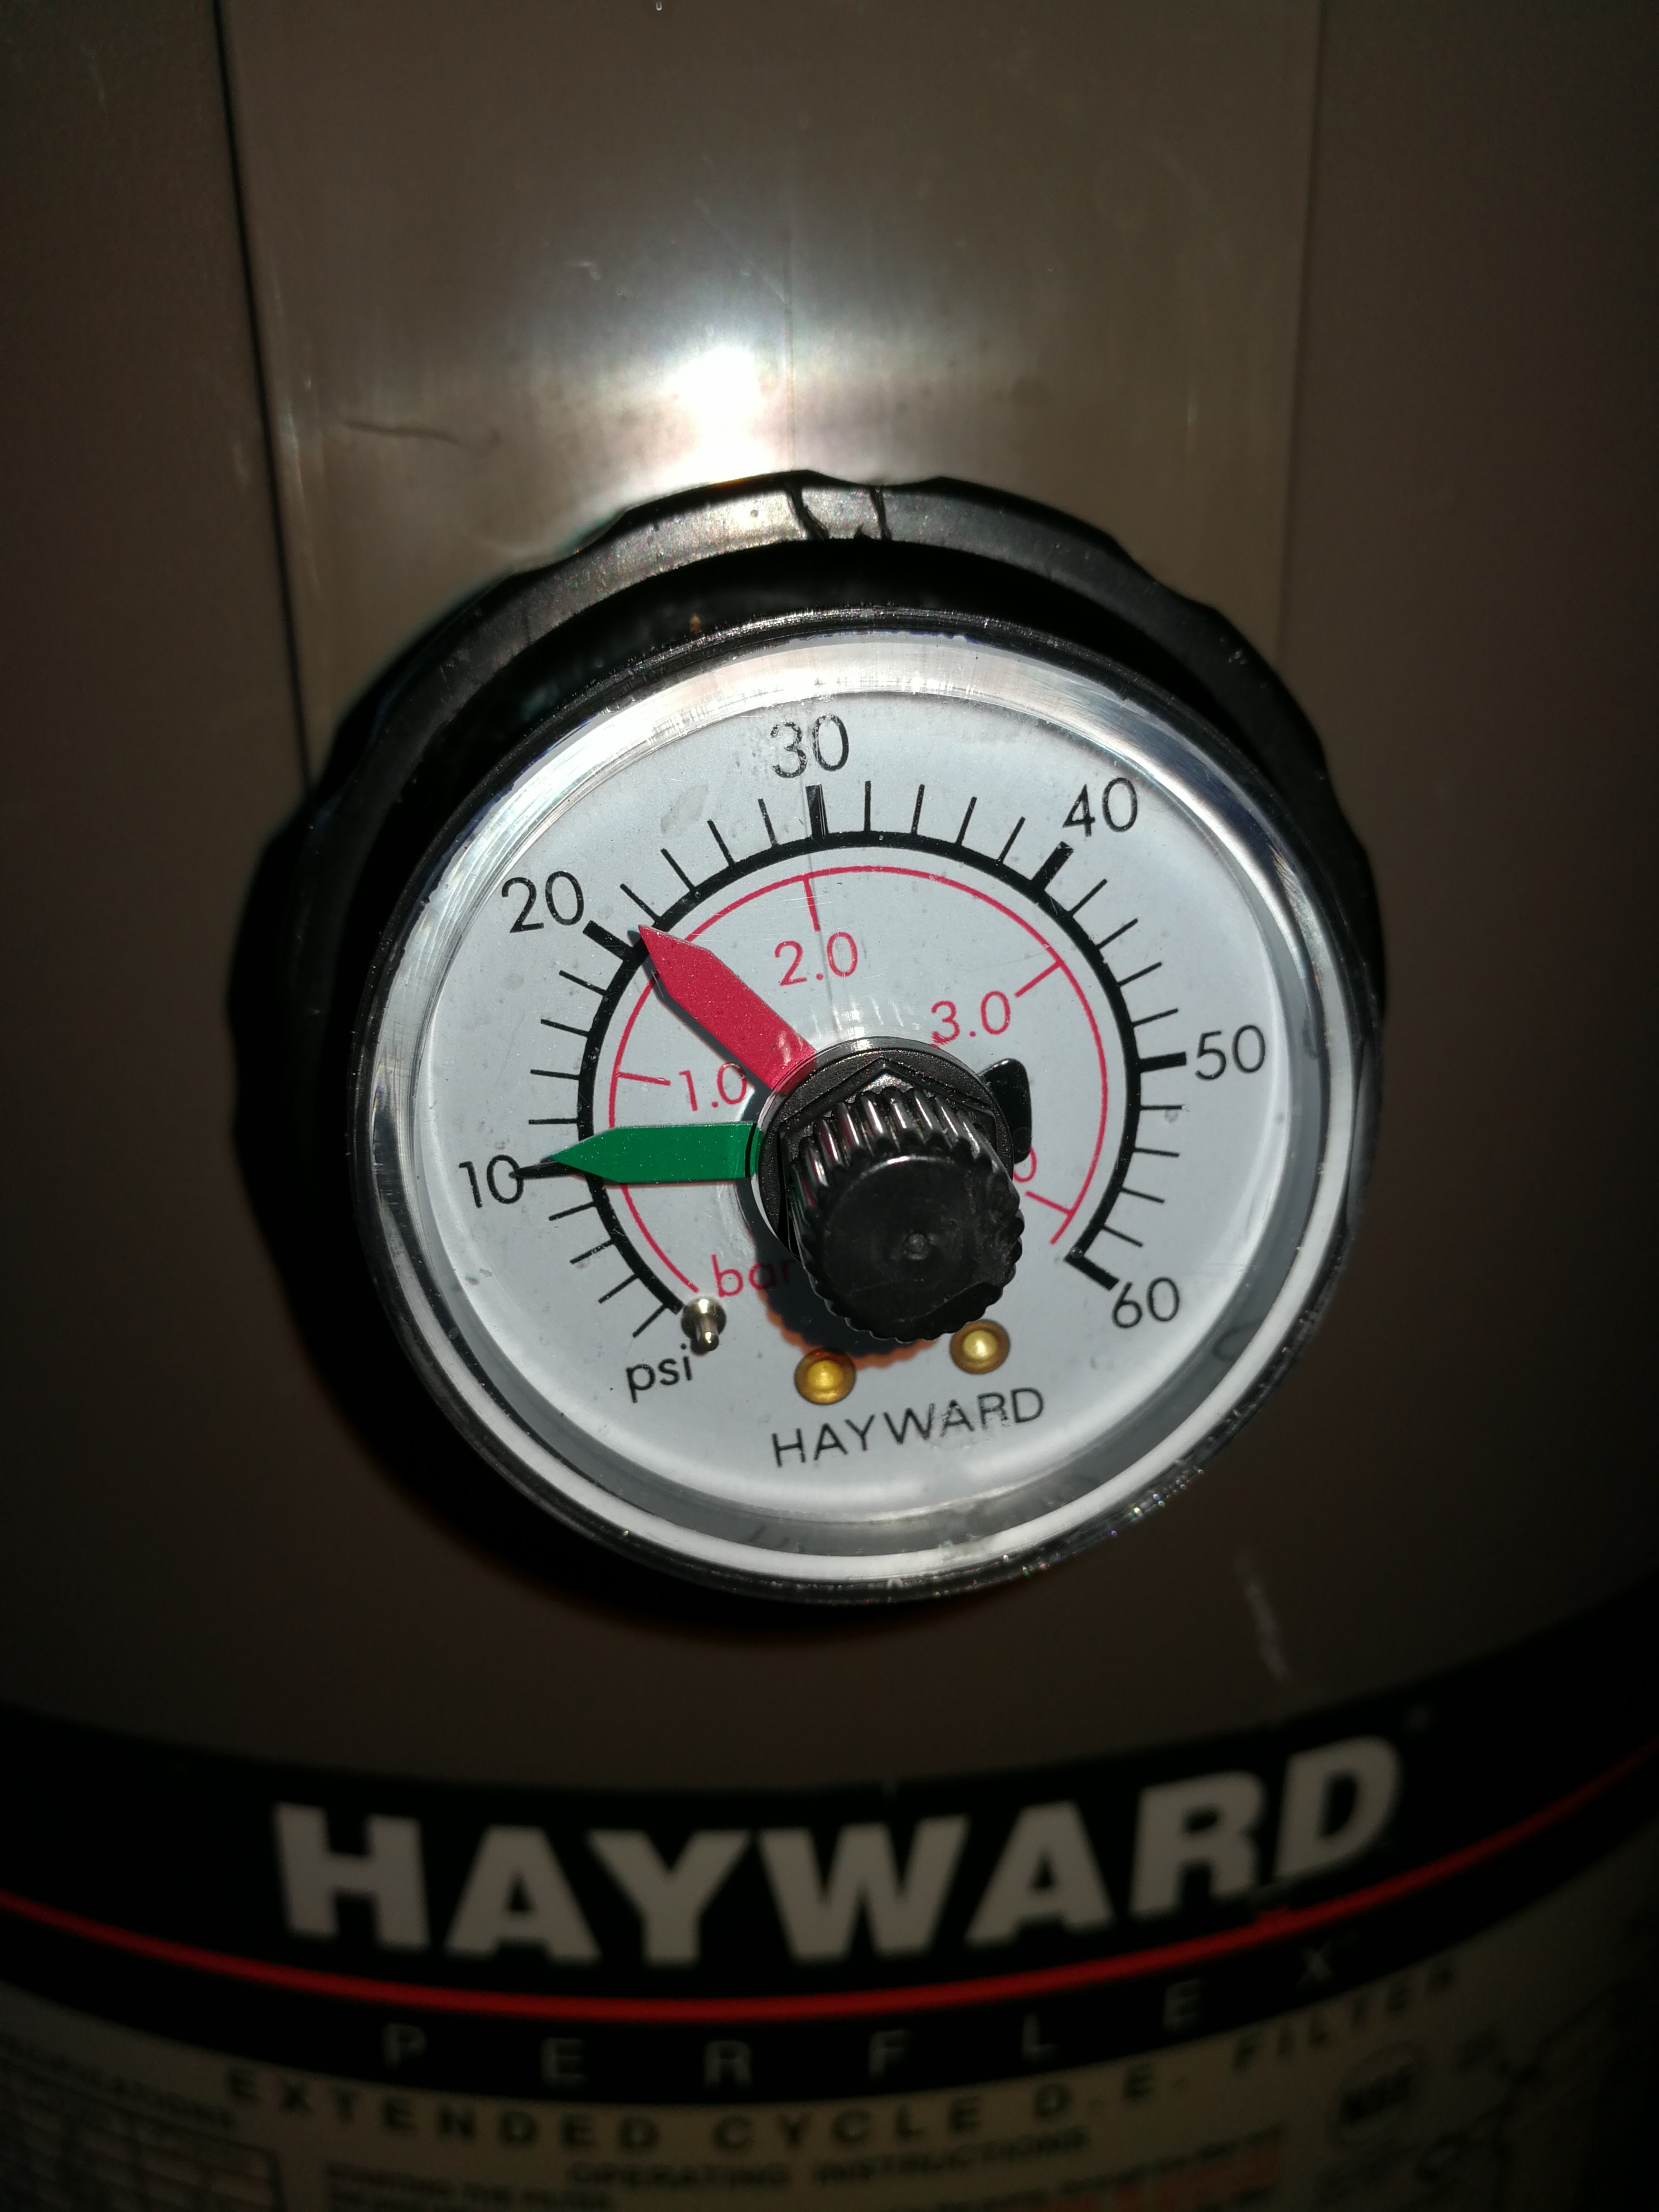
Now it is back. This summer we opened the pool on time over Memorial Day weekend, but because we had such a cold and rainy spring, nobody felt like using the pool until late June. At about that time, the flow problem started again. I noticed that by the time I came home from work on Monday, there was almost no flow with the pressure gauge well above the red needle, after I had just taken the filter completely apart and cleaned it the day before. Bumping, cleaning, back-washing went on for a couple of weeks, until I decided that I needed a fix, because we are about to leave for a multi-week vacation, the house sitter does not know how to keep the system going, and the guy I hired to check on things once a week would be too expensive to come here on a daily basis.
There are many posts in various pool forums online from people who have this same problem, but nobody posts solutions. “Experts” try to reduce every problem to the two causes that they know (algae or not cleaning the filter). I had to get to the bottom of this myself. To make the long story short, I don’t have a definitive fix, but I think I am on to something.
Today, I switched back to the filter nest that I replaced two years ago and that I had in my basement as a spare unit (I still have the original nest as well that I use for spare parts only because it is no longer complete). My pool water is perfectly clean and balanced (tested by two independent pool stores), there is zero algae growth, and I just purchased a fresh new box of DE powder. To eliminate as many parameters as possible, I cleaned the filter grids inside and out, removed each individual finger from the plates, and soaked them for a couple of hours in a Hydrogen Peroxide solution.
The only factor that I am not confident about handling correctly is the amount of DE that I charge the filter with. Because of all the back-washing, a lot of powder goes to waste. Because of this, I have been using less and less, probably as little as half a pound as of late. The fingers still seemed to be adequately covered when I removed the insert yesterday without back-washing. And it seemed so counter-intuitive that using less powder than specified would cause flow problems. And yet, when I spoke to a friendly guy from my pool store on the phone the other day, he graciously volunteered at least 20 minutes of his time going over this problem with me, and he convinced me that using more powder might just fix this issue.
So, once reassembled and put back into operation, I charged the filter with half a bag of DE (about 6 lbs) and I let the pump run overnight. This was yesterday. This morning, things looked good. The water was very clear, there was only a little DE in the pool, and the pressure was not too high. It was about half way between the green and the red needle (I set the green needle to where I started yesterday after charging the filter). Still, this is too much of an increase for letting the pool unattended for a whole week and not asking for trouble.
So I bumped it again and let it run for the day. When the timer shut off the pump at around 4pm, the pressure had not increased again and was still at the green level. All good, problem solved? Hardly, but let’s remain optimistic. I have a few more days to monitor things and decide if more drastic steps will be needed before we leave.
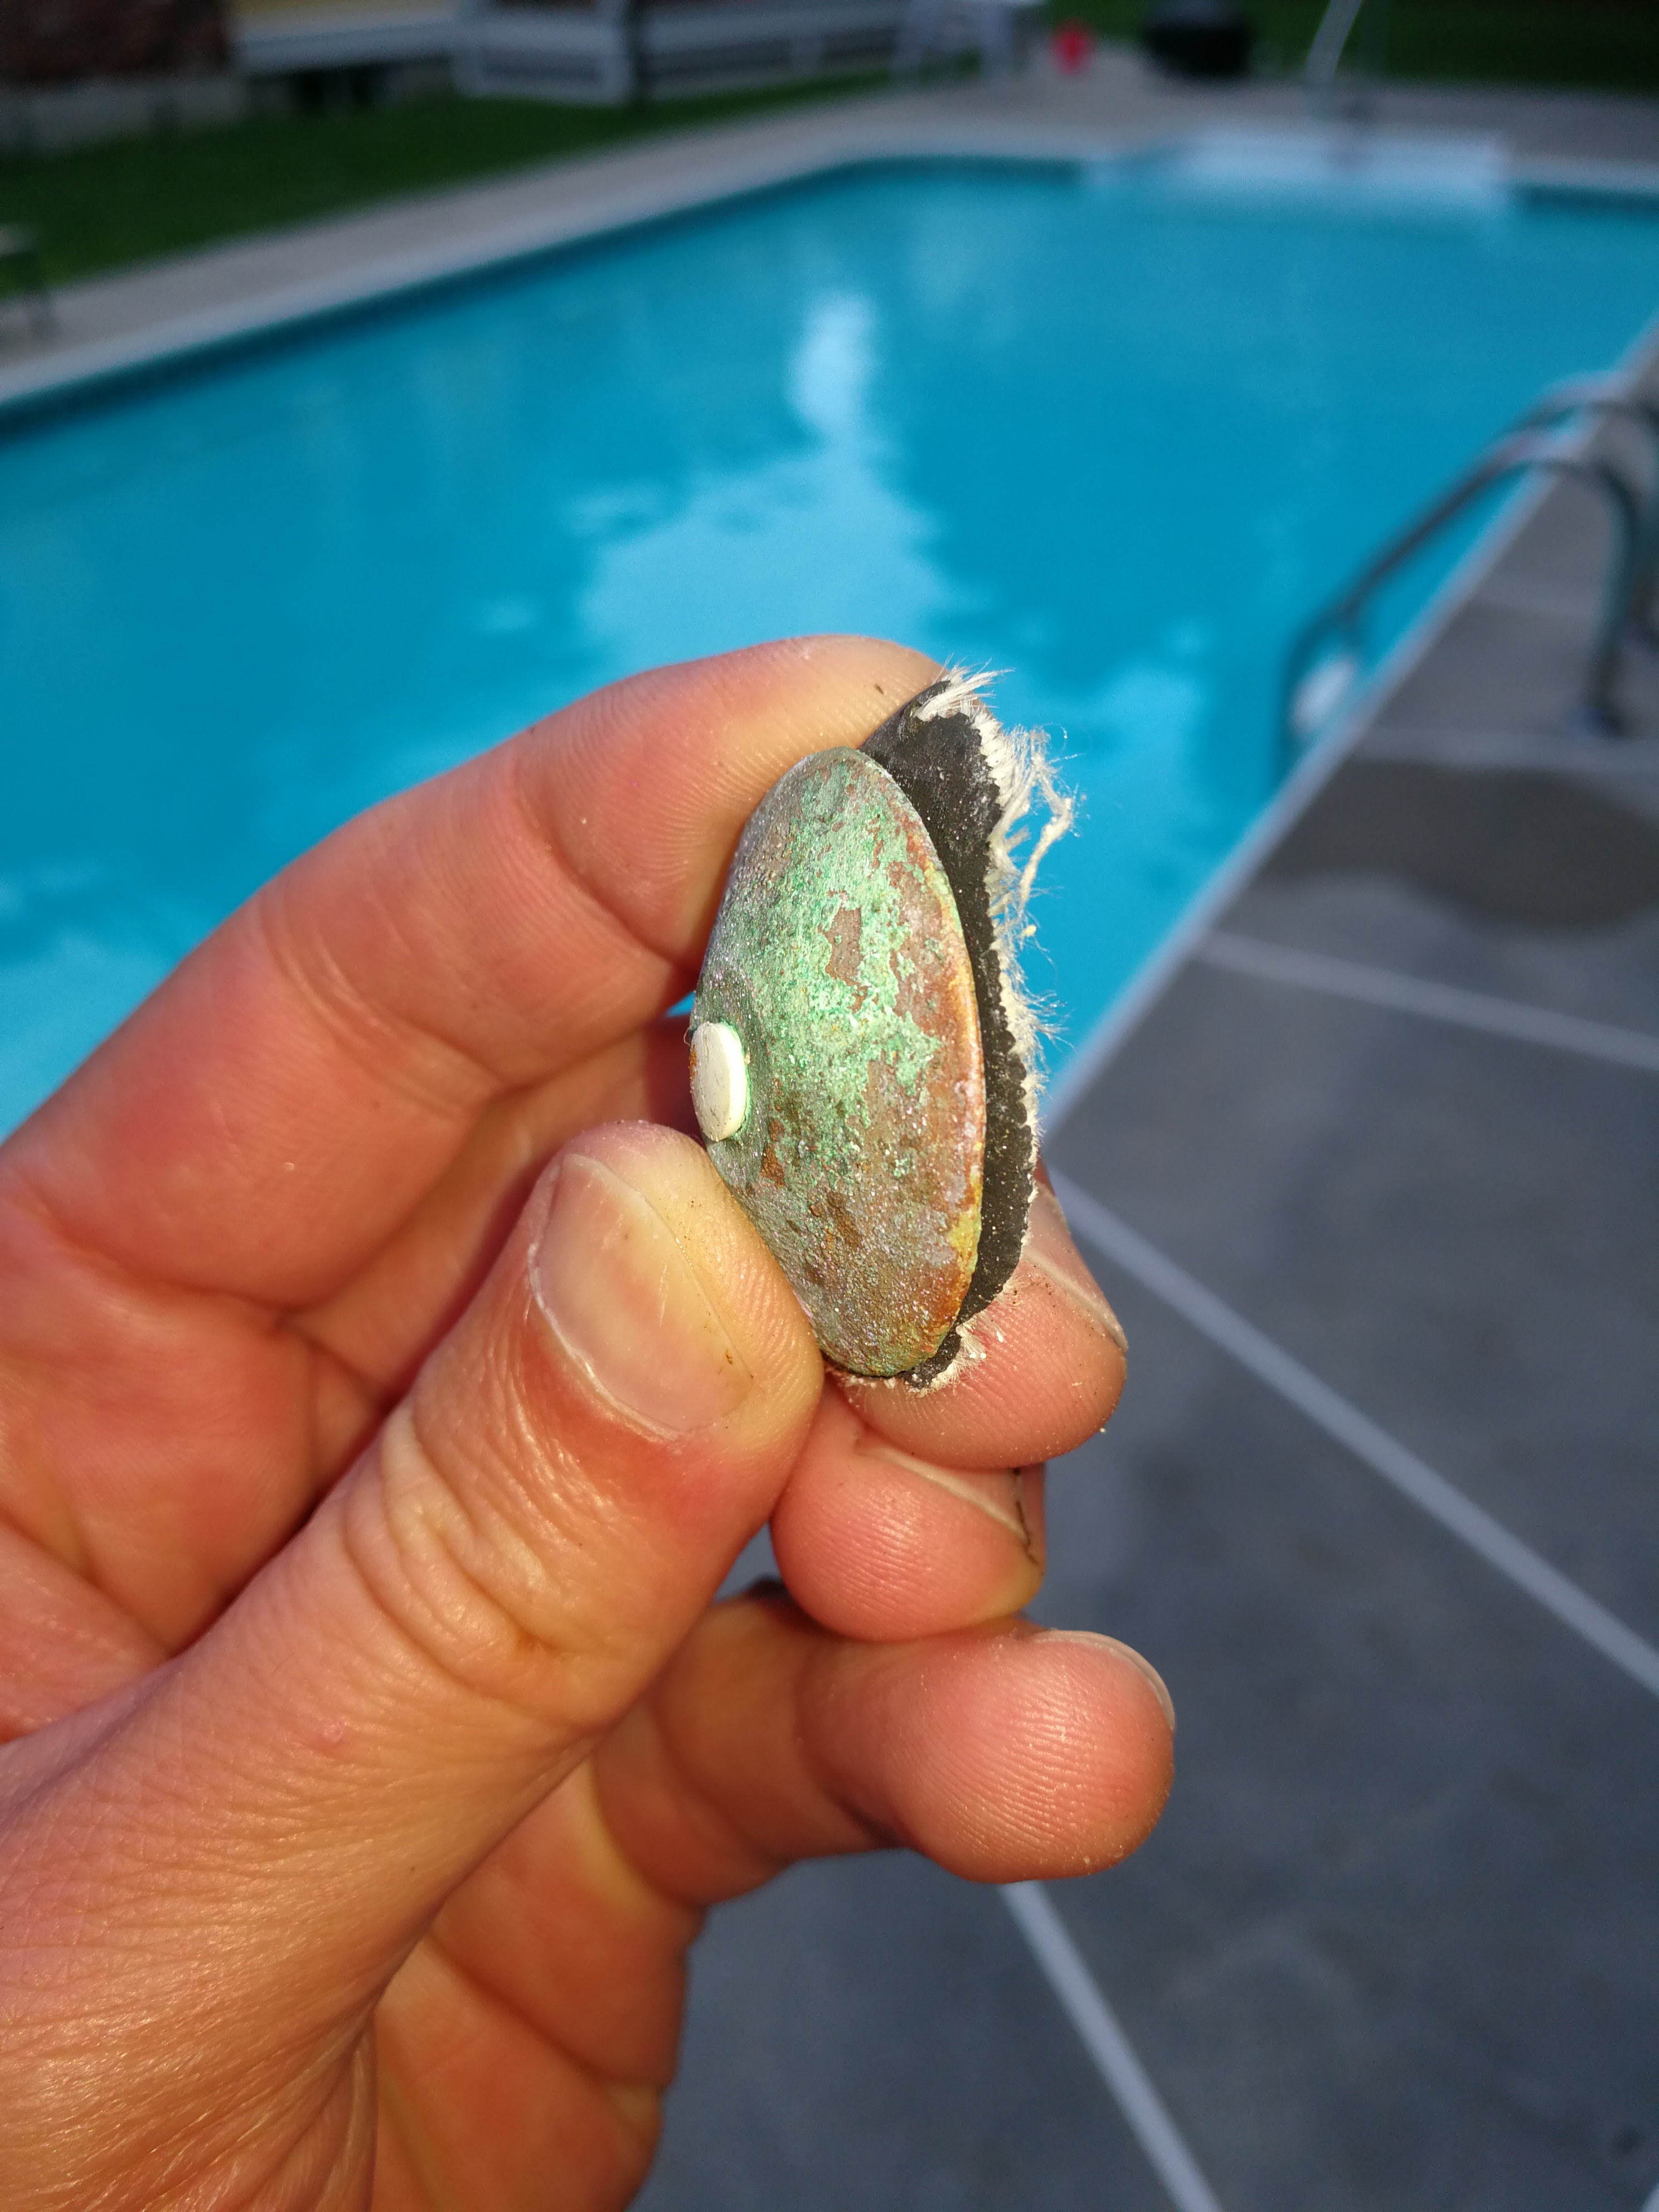
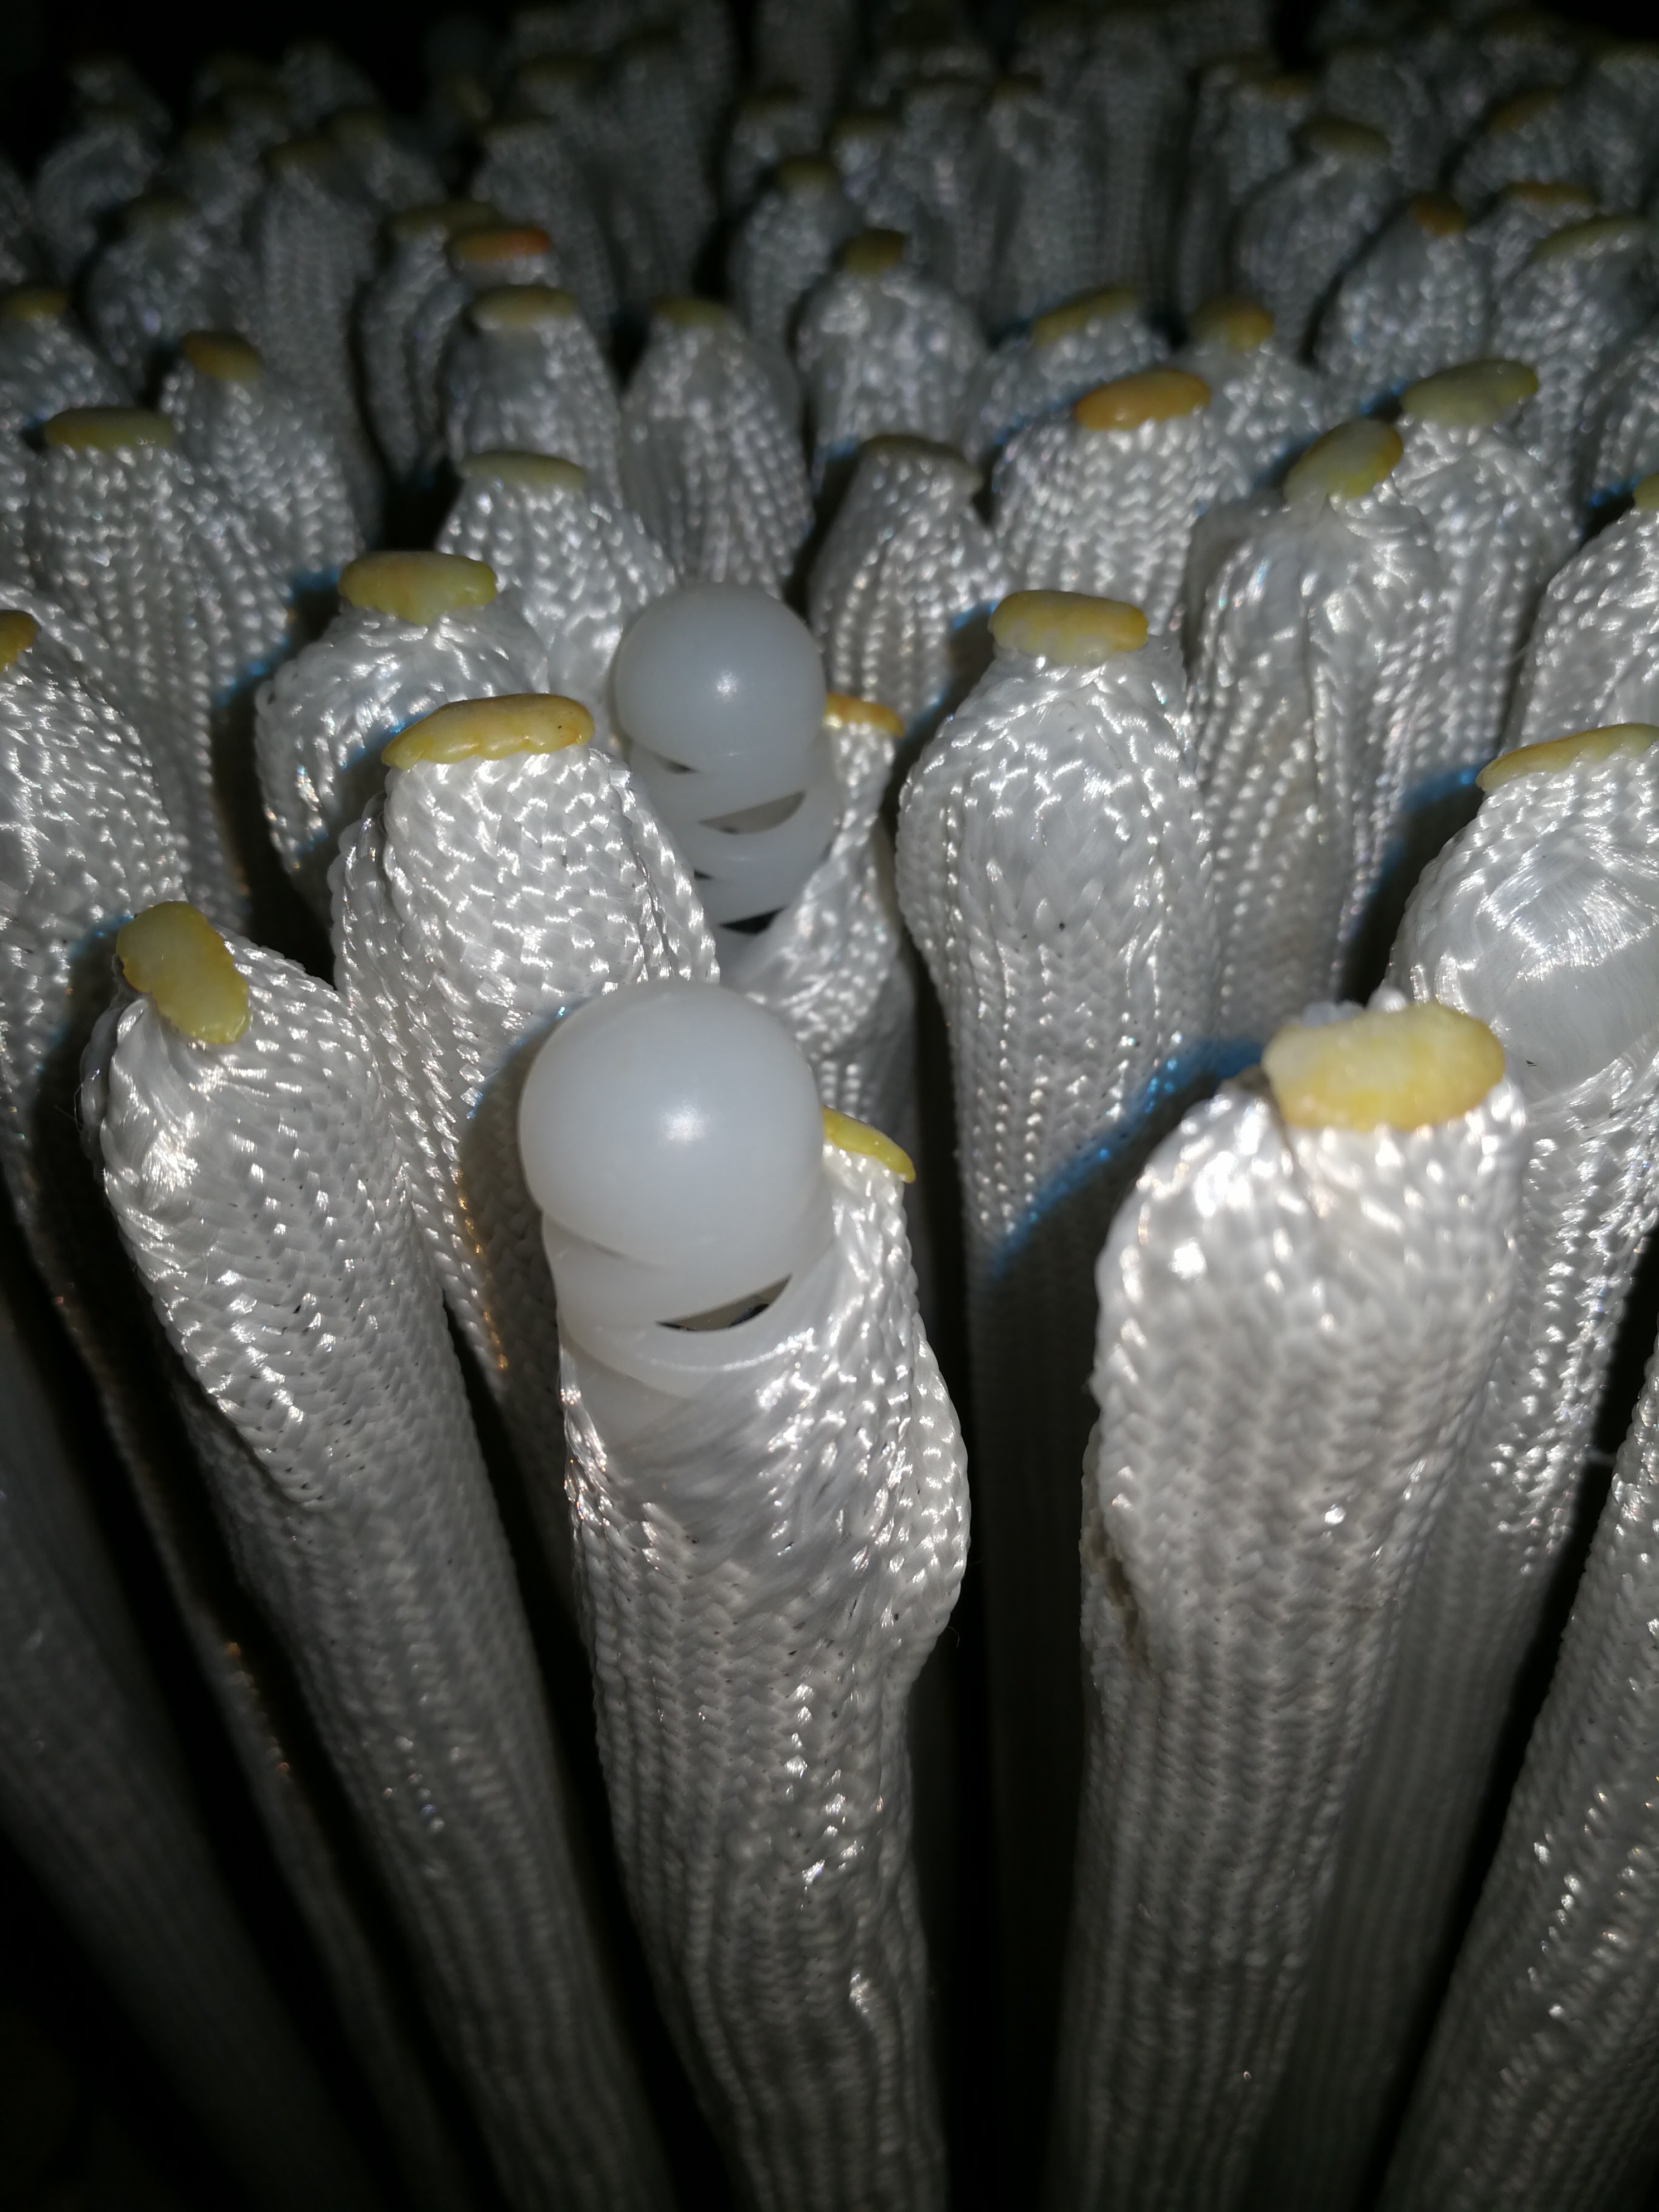
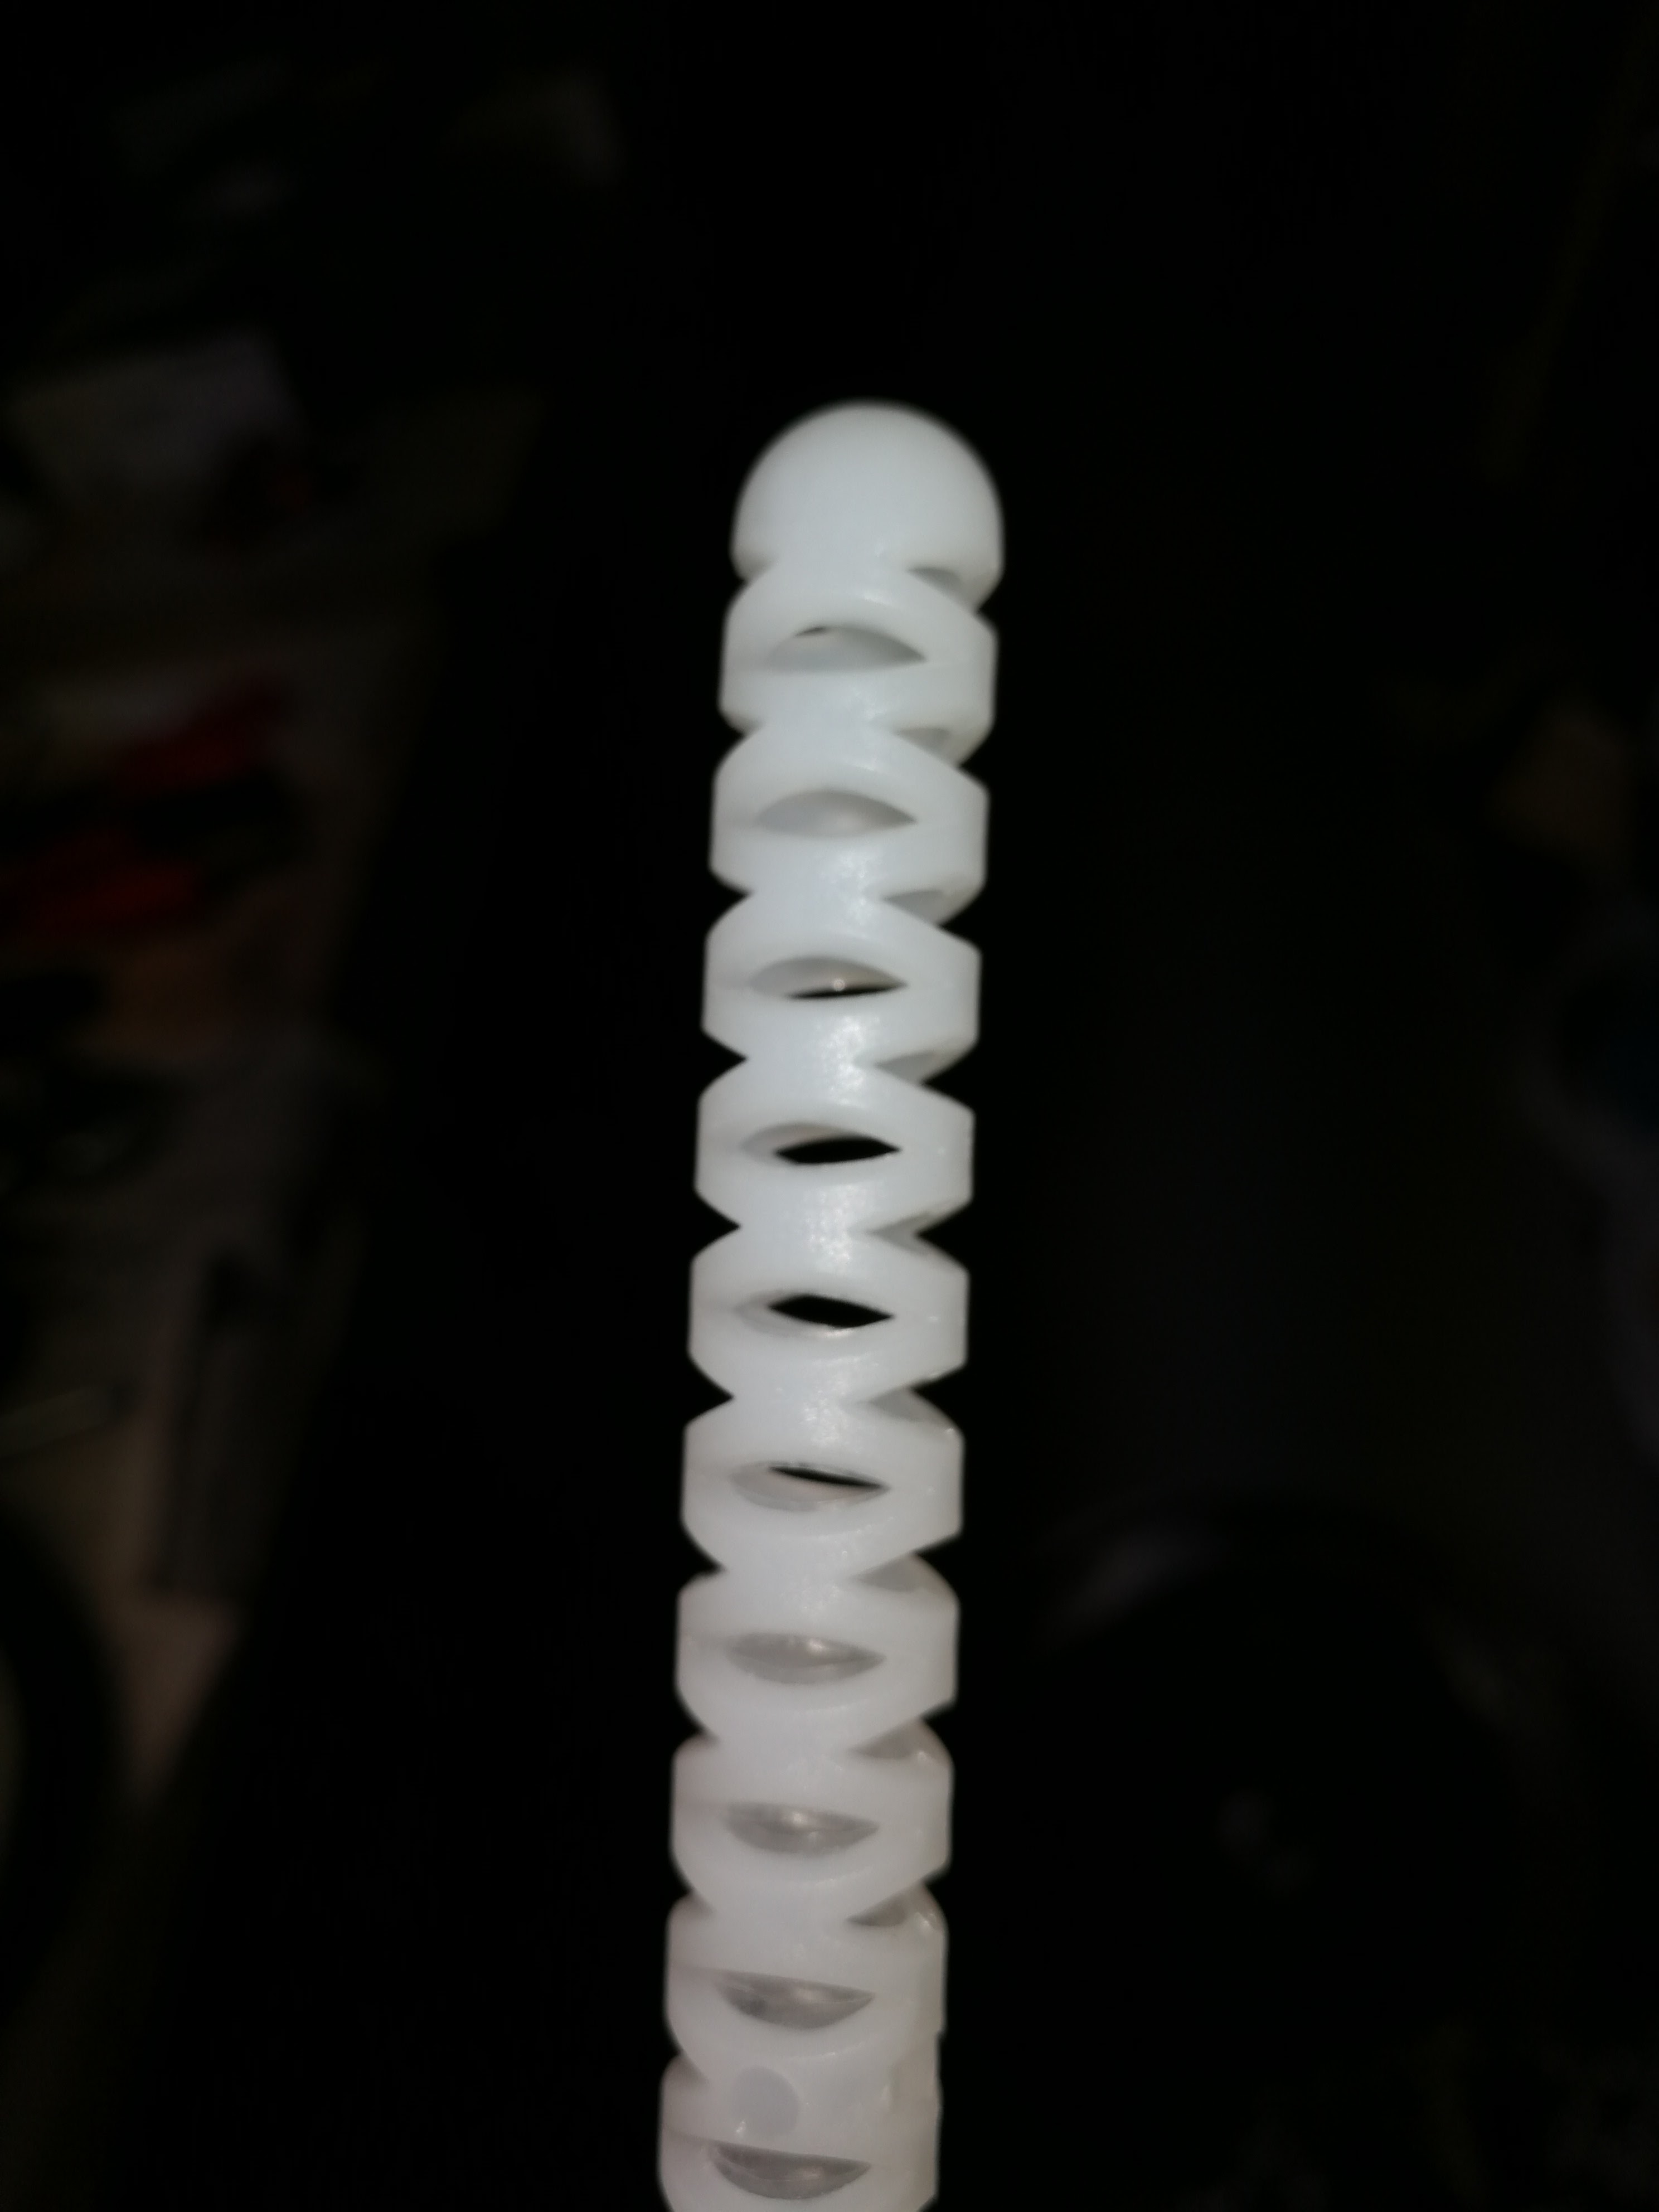
Probably the biggest design flaw of the EC65 is the backflow preventer. It consists of a ceramic disk attached to a piece of vinyl. This gets torn off within the first year and then gets swirled around inside the filter, damaging the grids.
Many of the fingers on the grid that I replaced two years ago show these signs of damage. I replaced a few that had visible holes but decided to keep the others in place. This is probably the reason why I always get a little bit of DE powder back into the pool, and I suspect that the ceramic disk from the backflow valve is to blame.
The grid from the first filter was in bad shape when I replaced it. At this point I was not aware of the potential damage that the ceramic disk from the backflow preventer valve can do when not removed from the filter housing soon after it breaks loose.
Now to a detailed account of how I cleaned this filter grid:
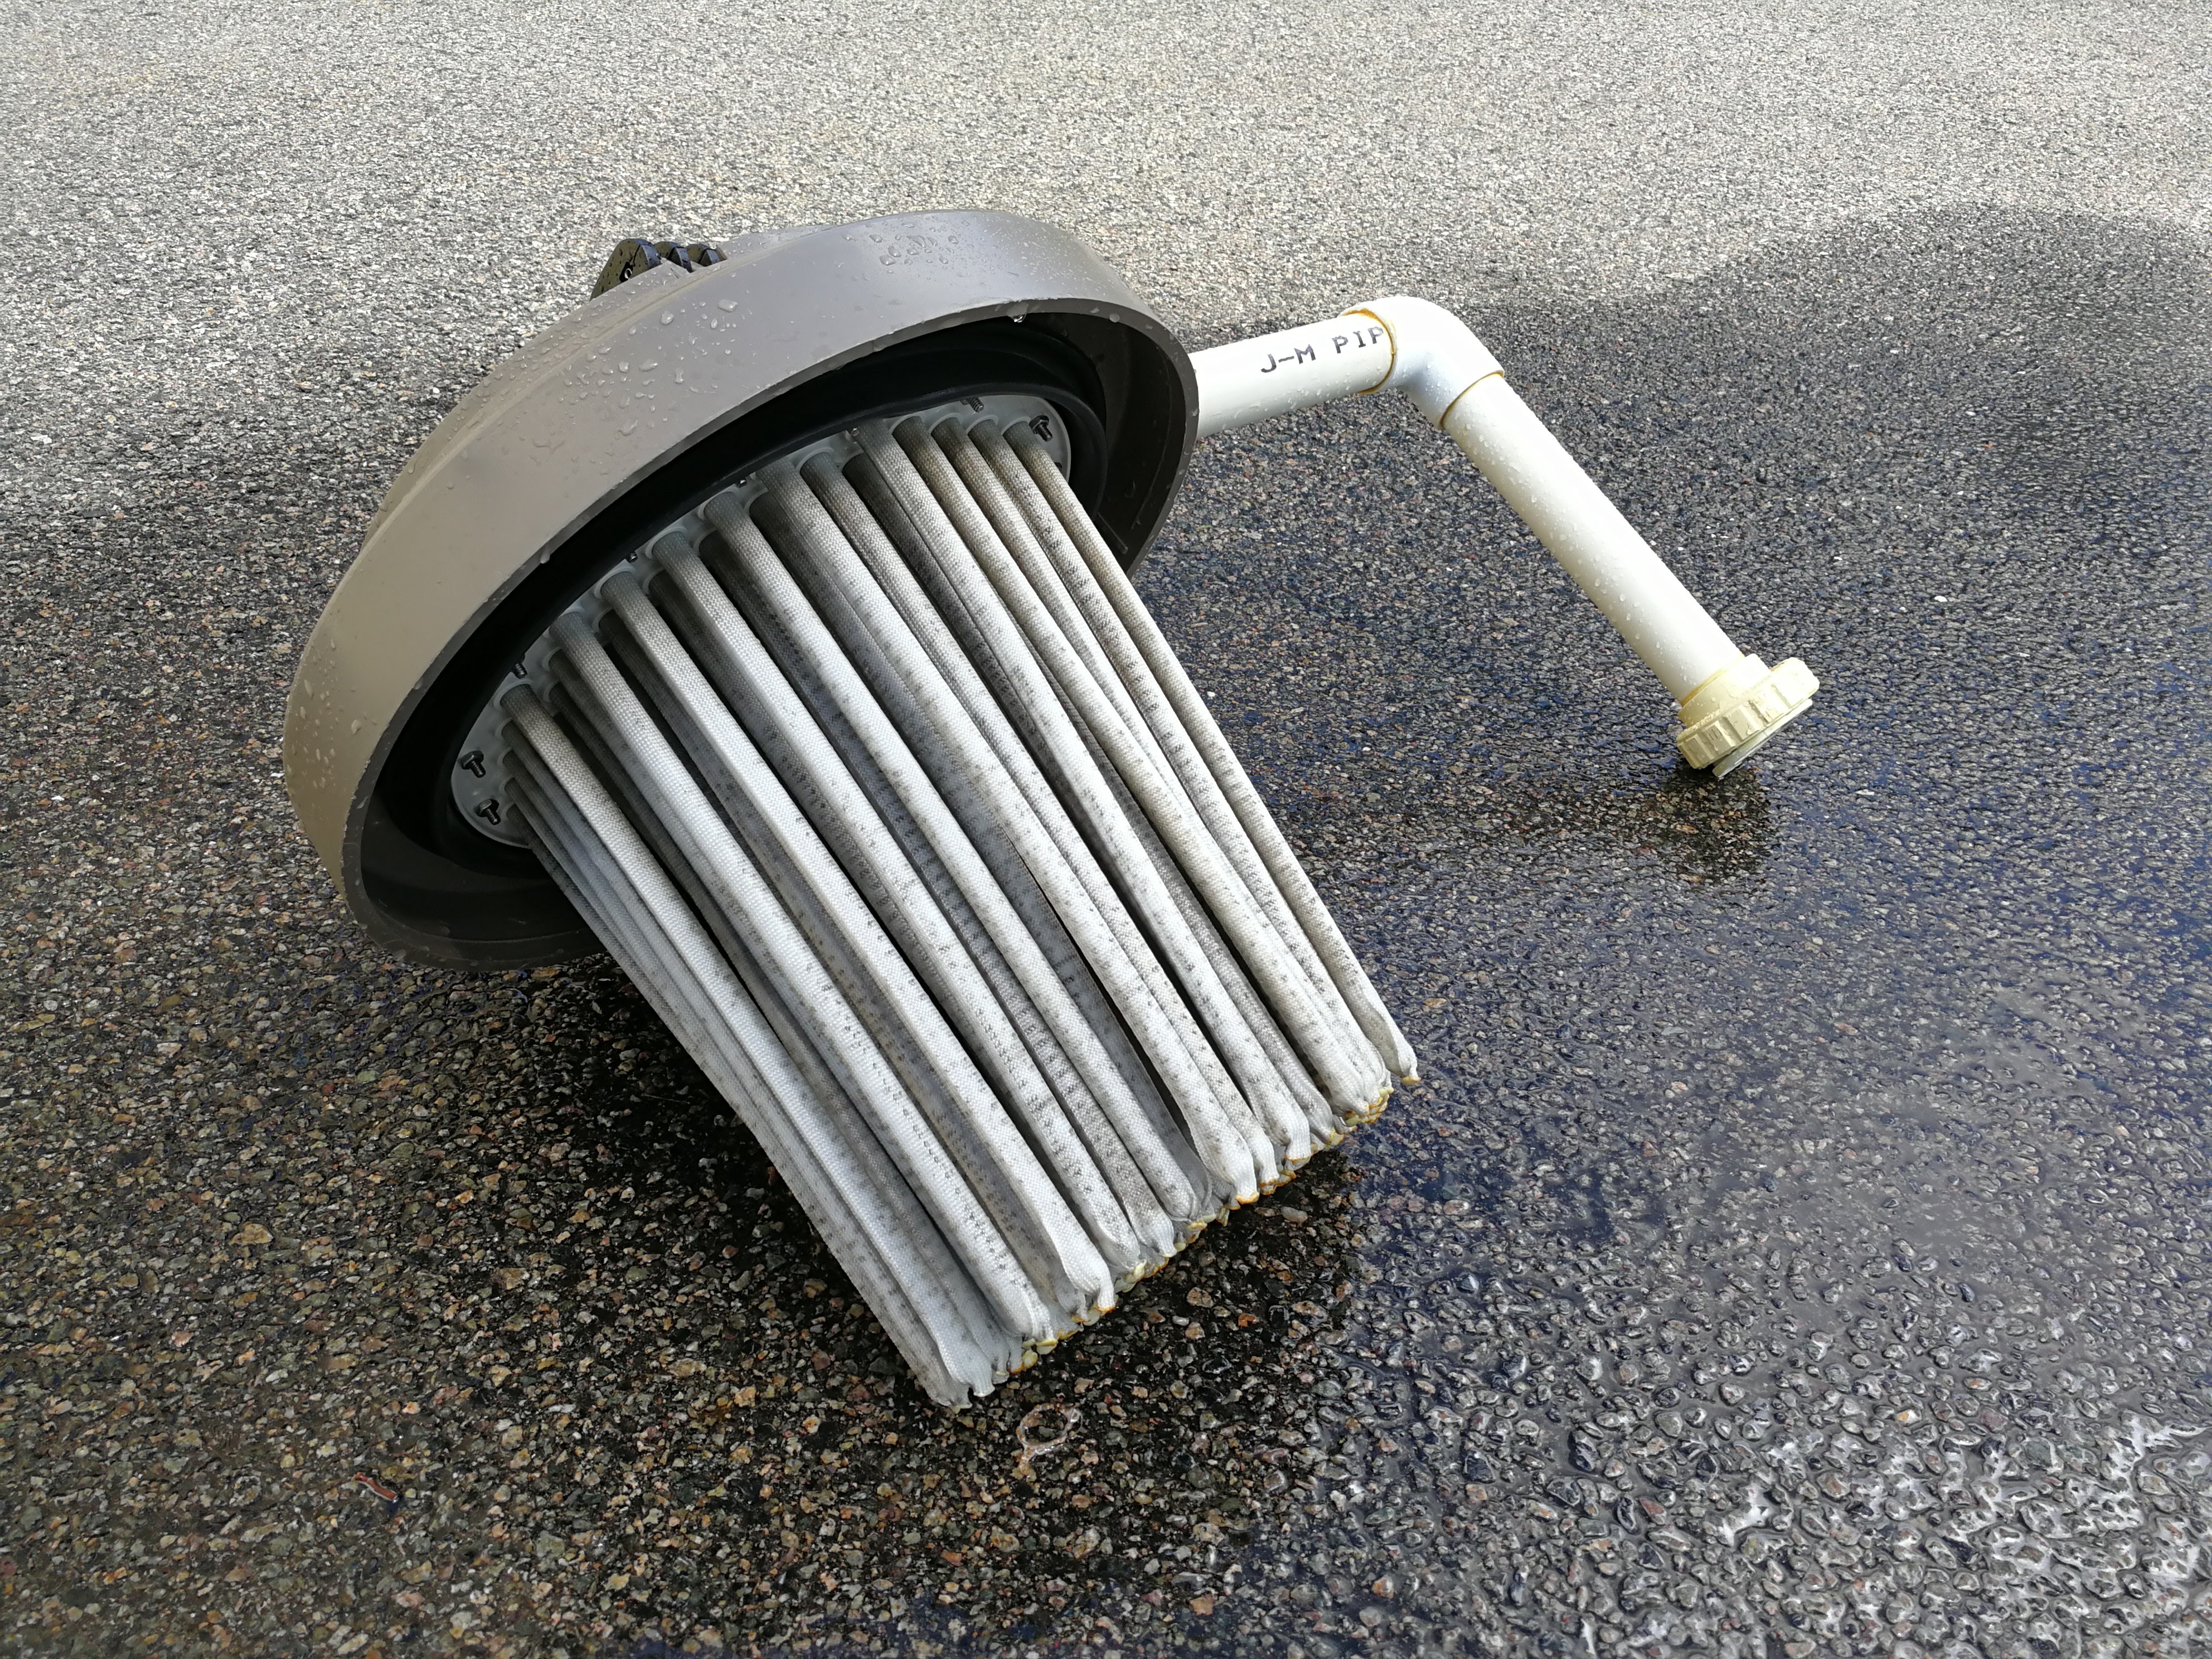
Step 1 – Hose off all DE powder and debris
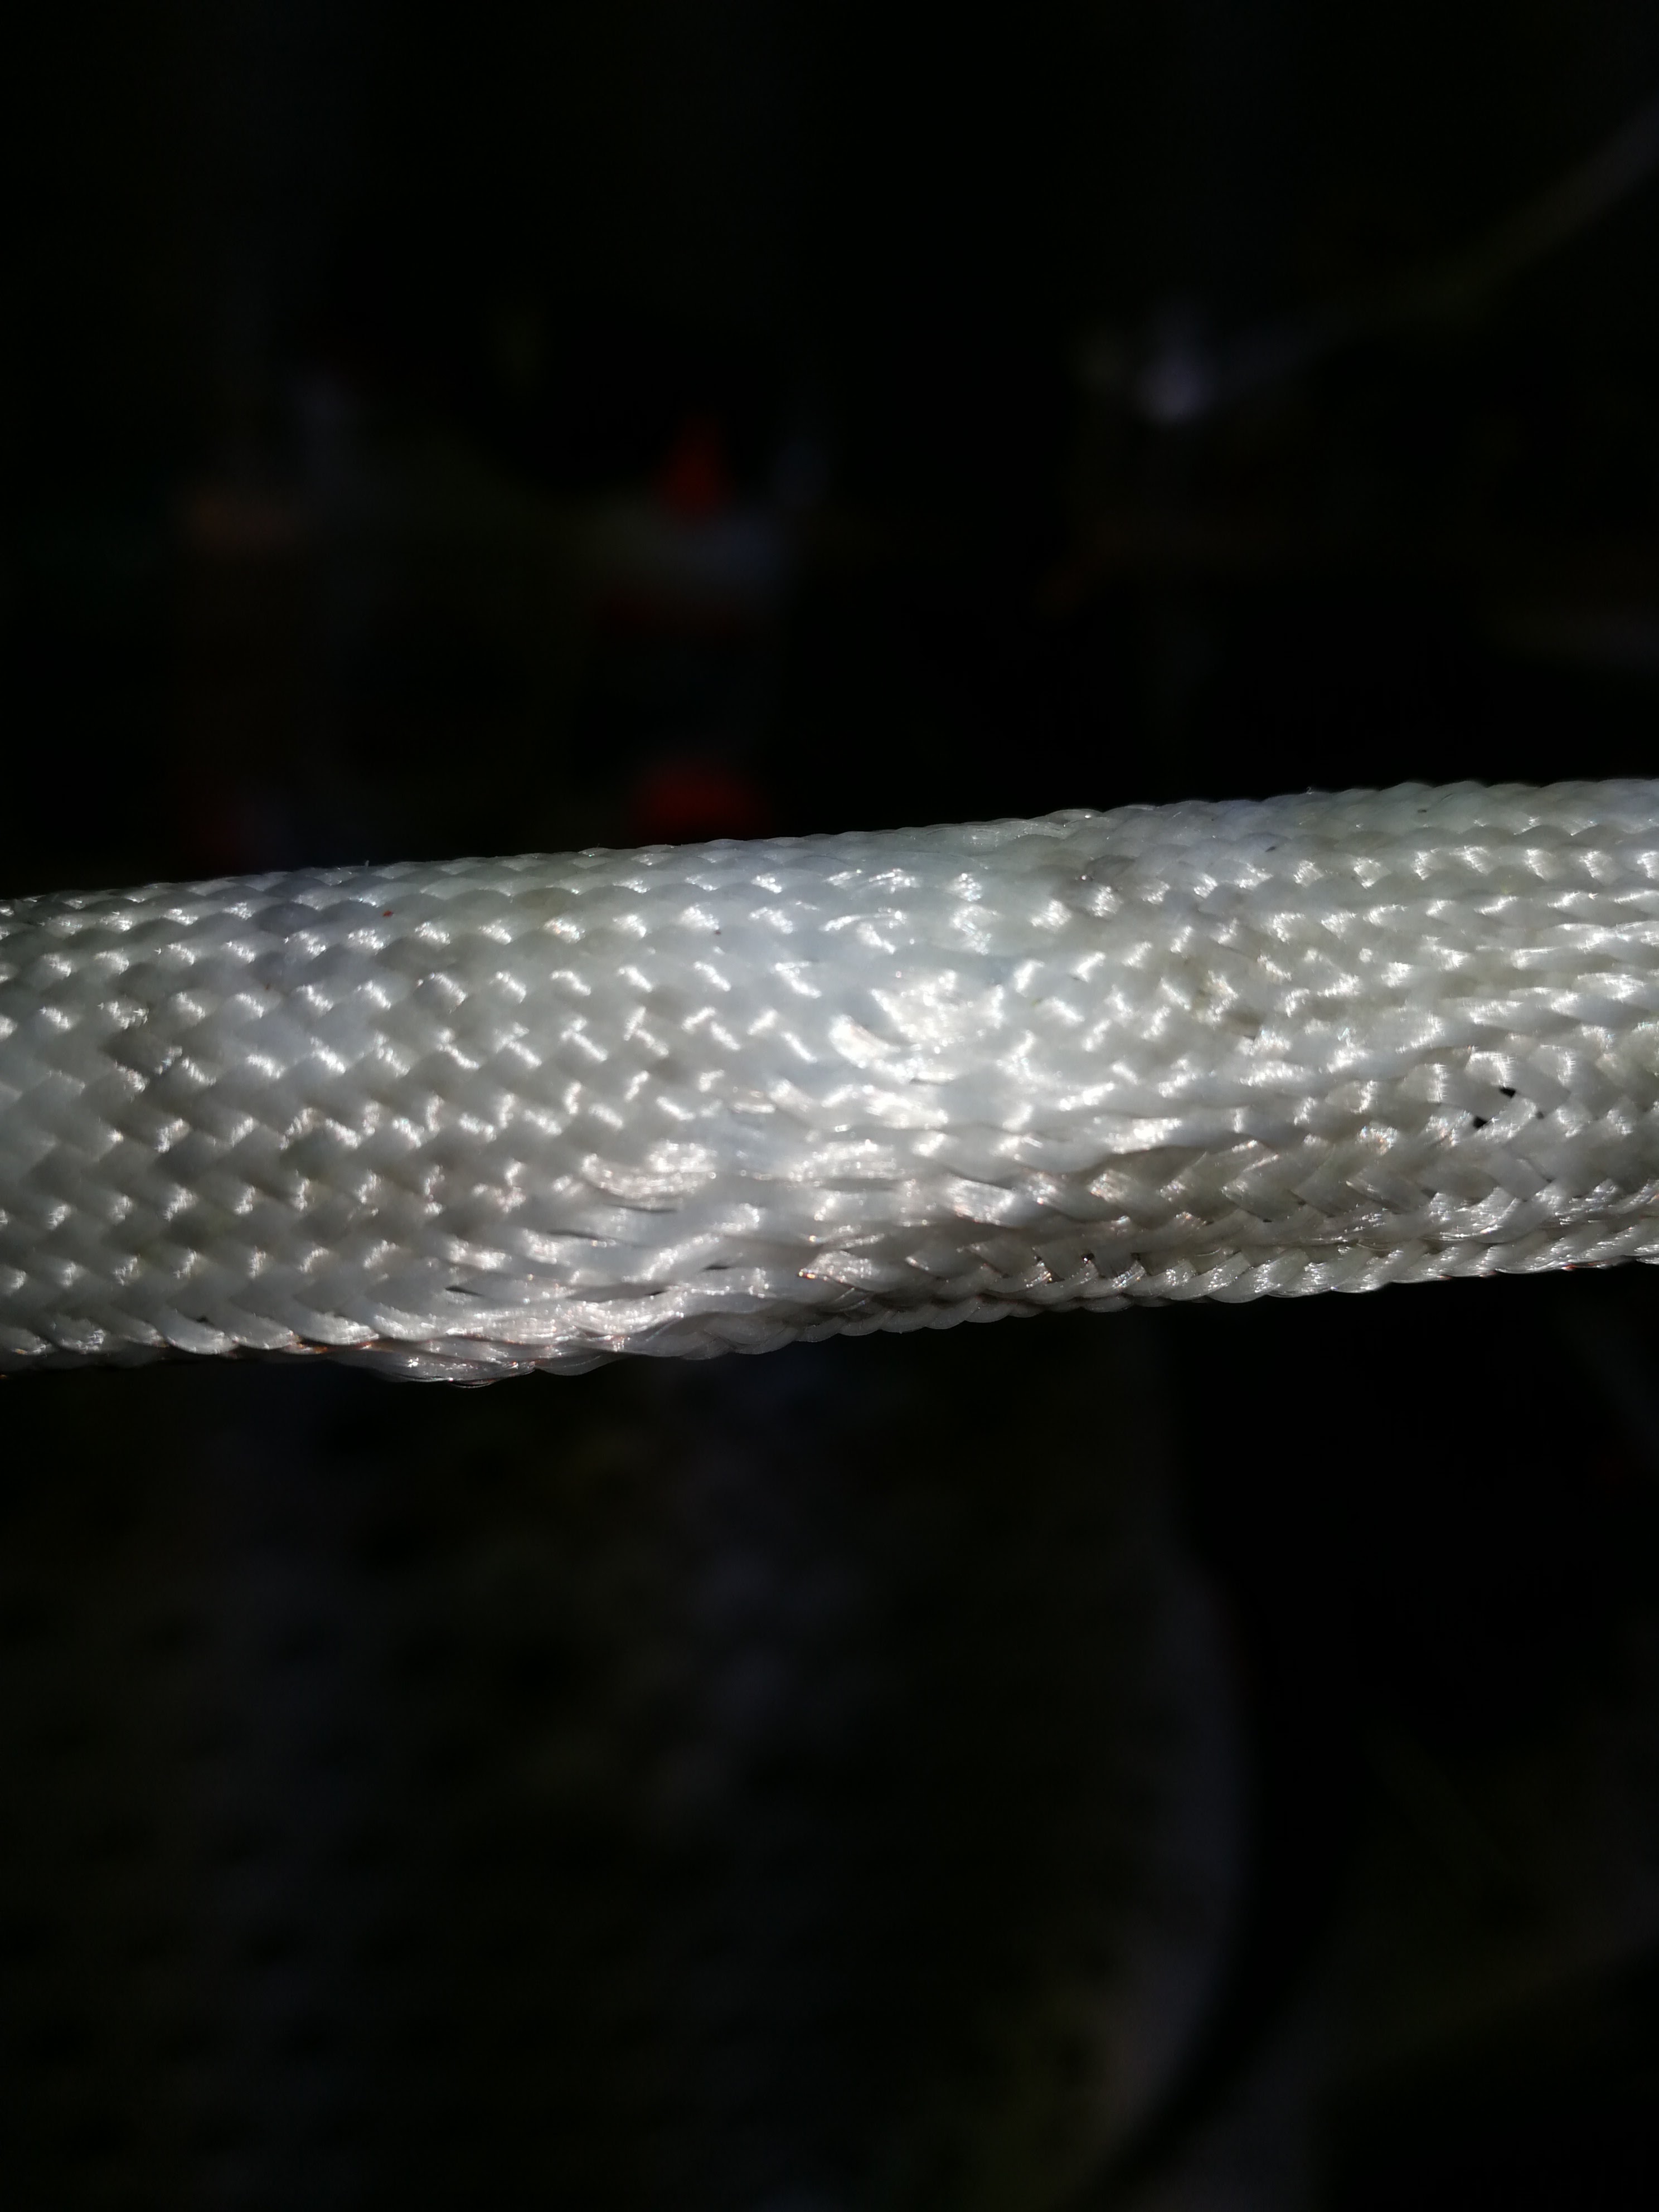
Do not use a power washer for this. The fabric that the sleeves are made of becomes weak over time and might fail as a result.
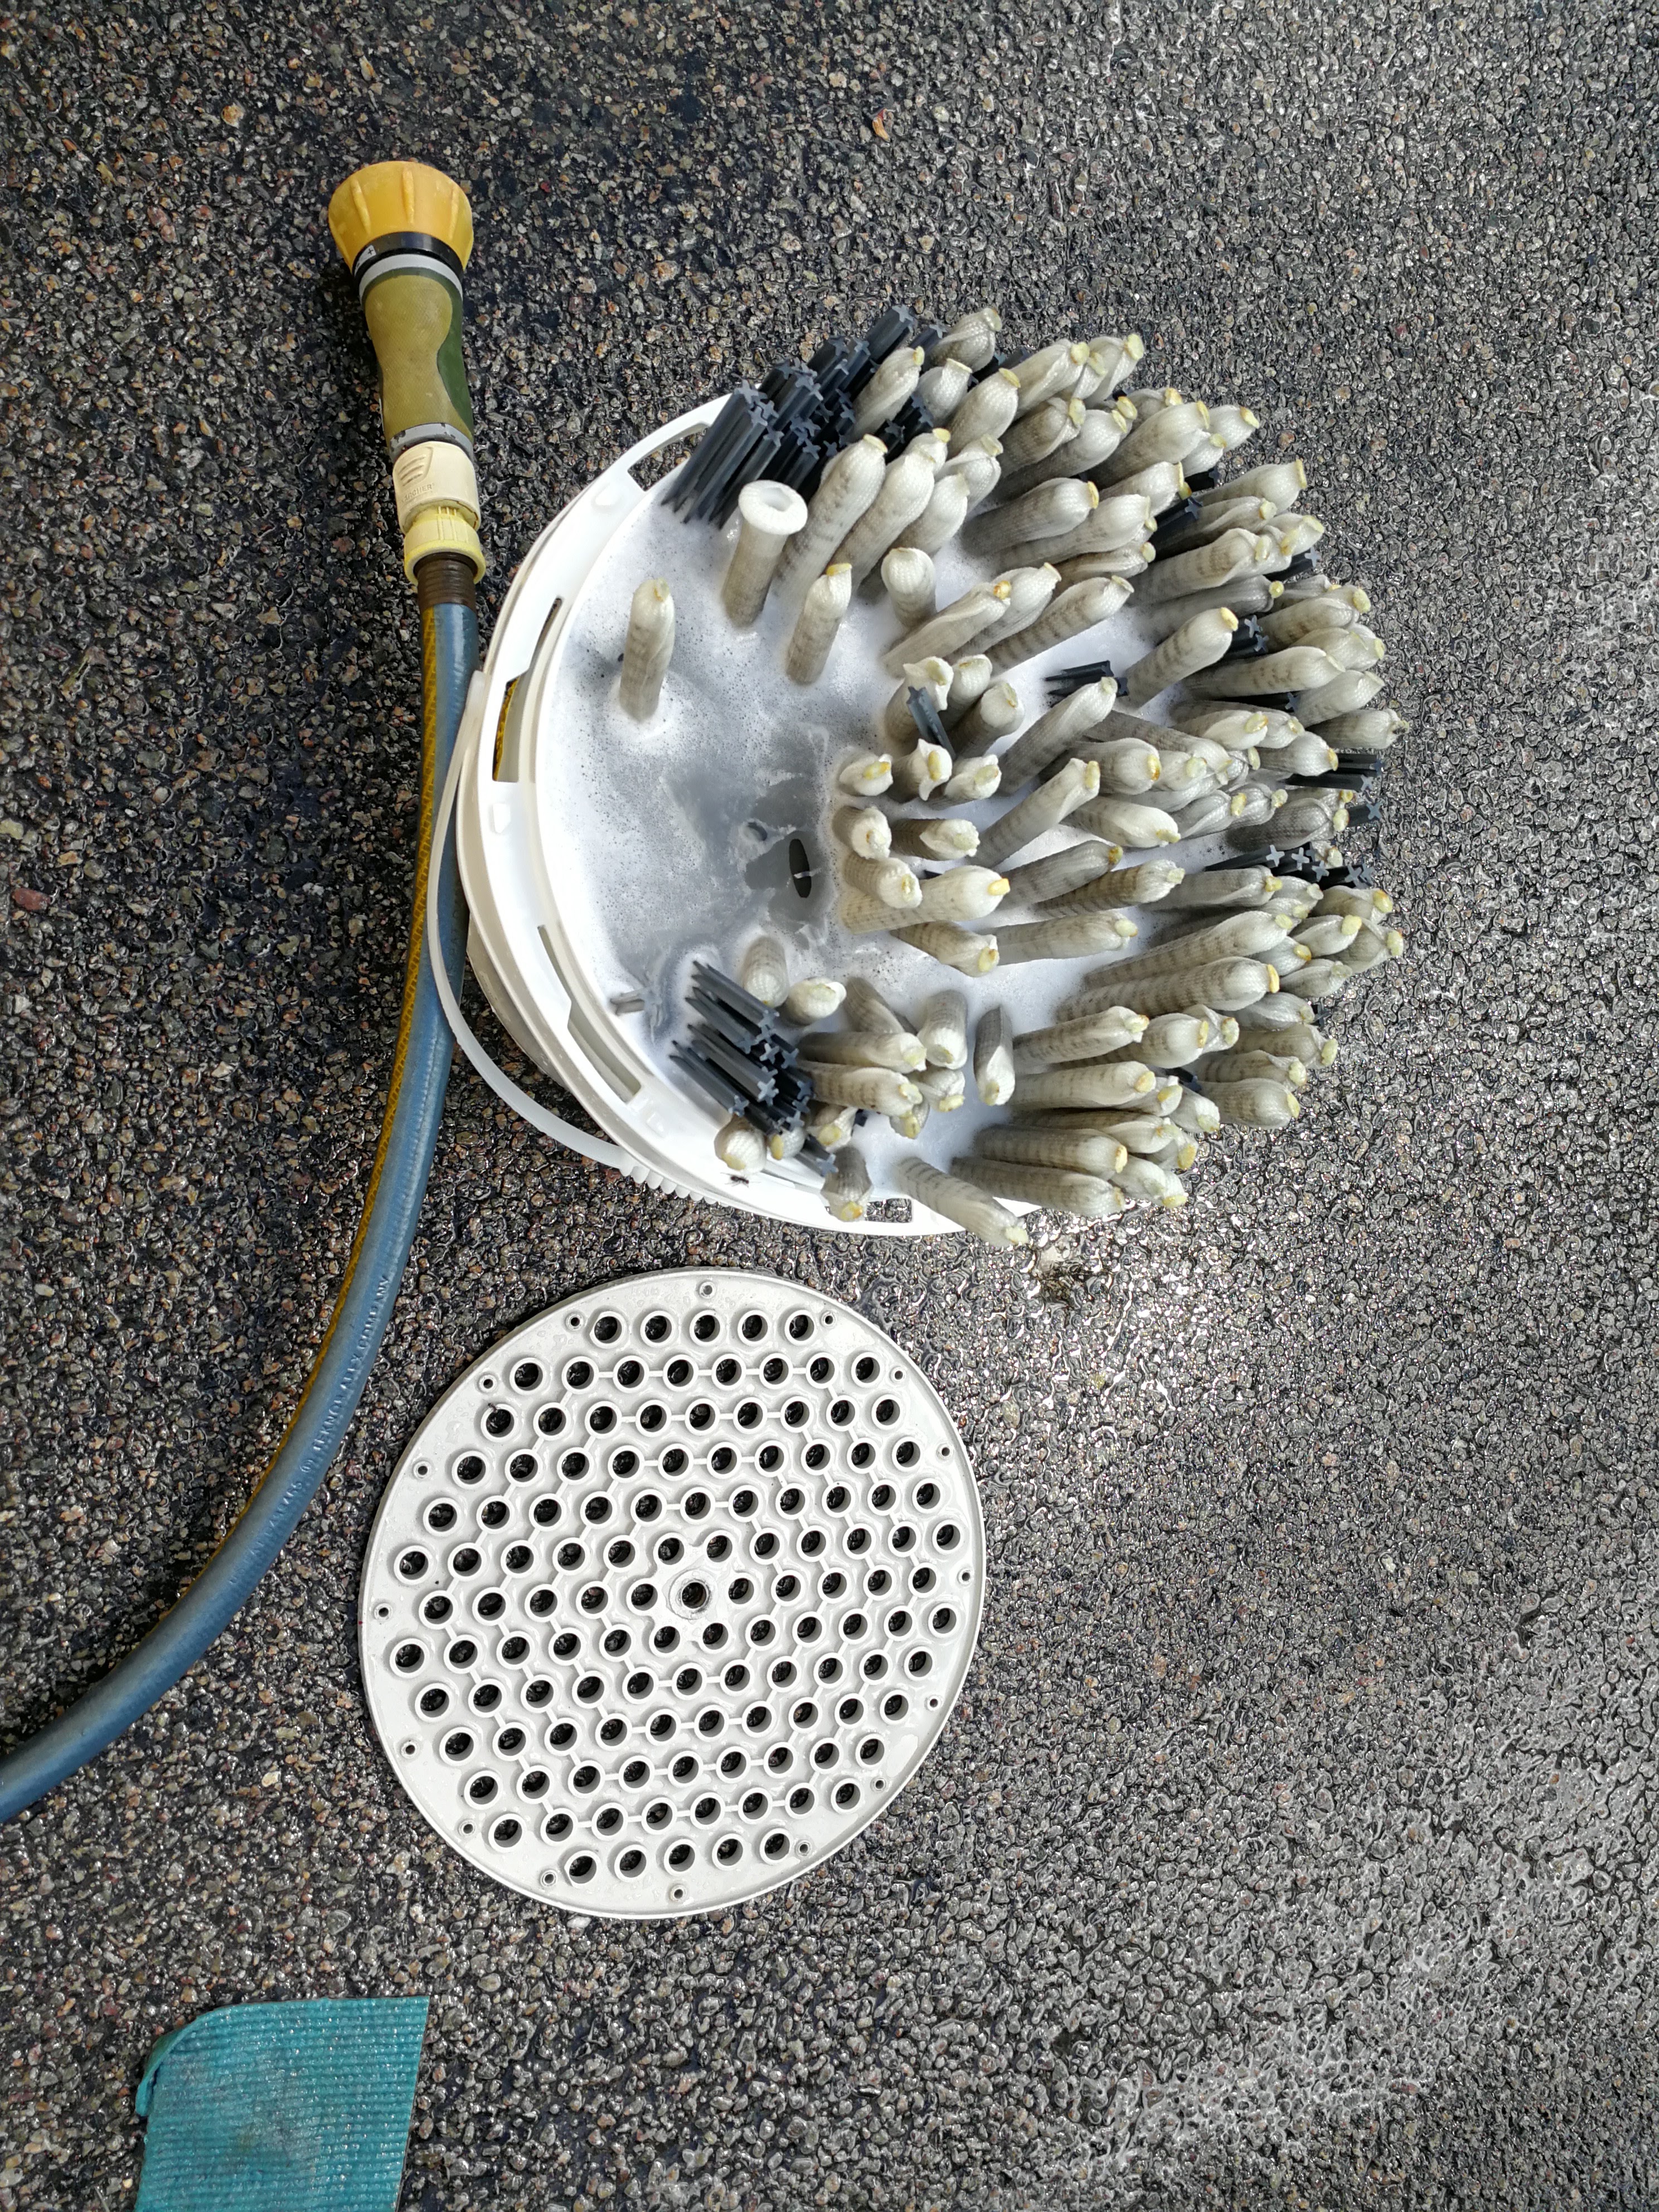
Step 2 – Disassemble the grids and soak the fingers in a cleaning solution
Before disassembling the nest and removing the plates, it can be helpful to indicate the orientation and alignment of the parts with a permanent marker. I used Hydrogen Peroxide (the 25% solution from the pool store, diluted to about 5%), or dedicated pool filter cleaner. If the fingers are not completely submerged because the bucket is not deep enough like mine, flip them over at half time.
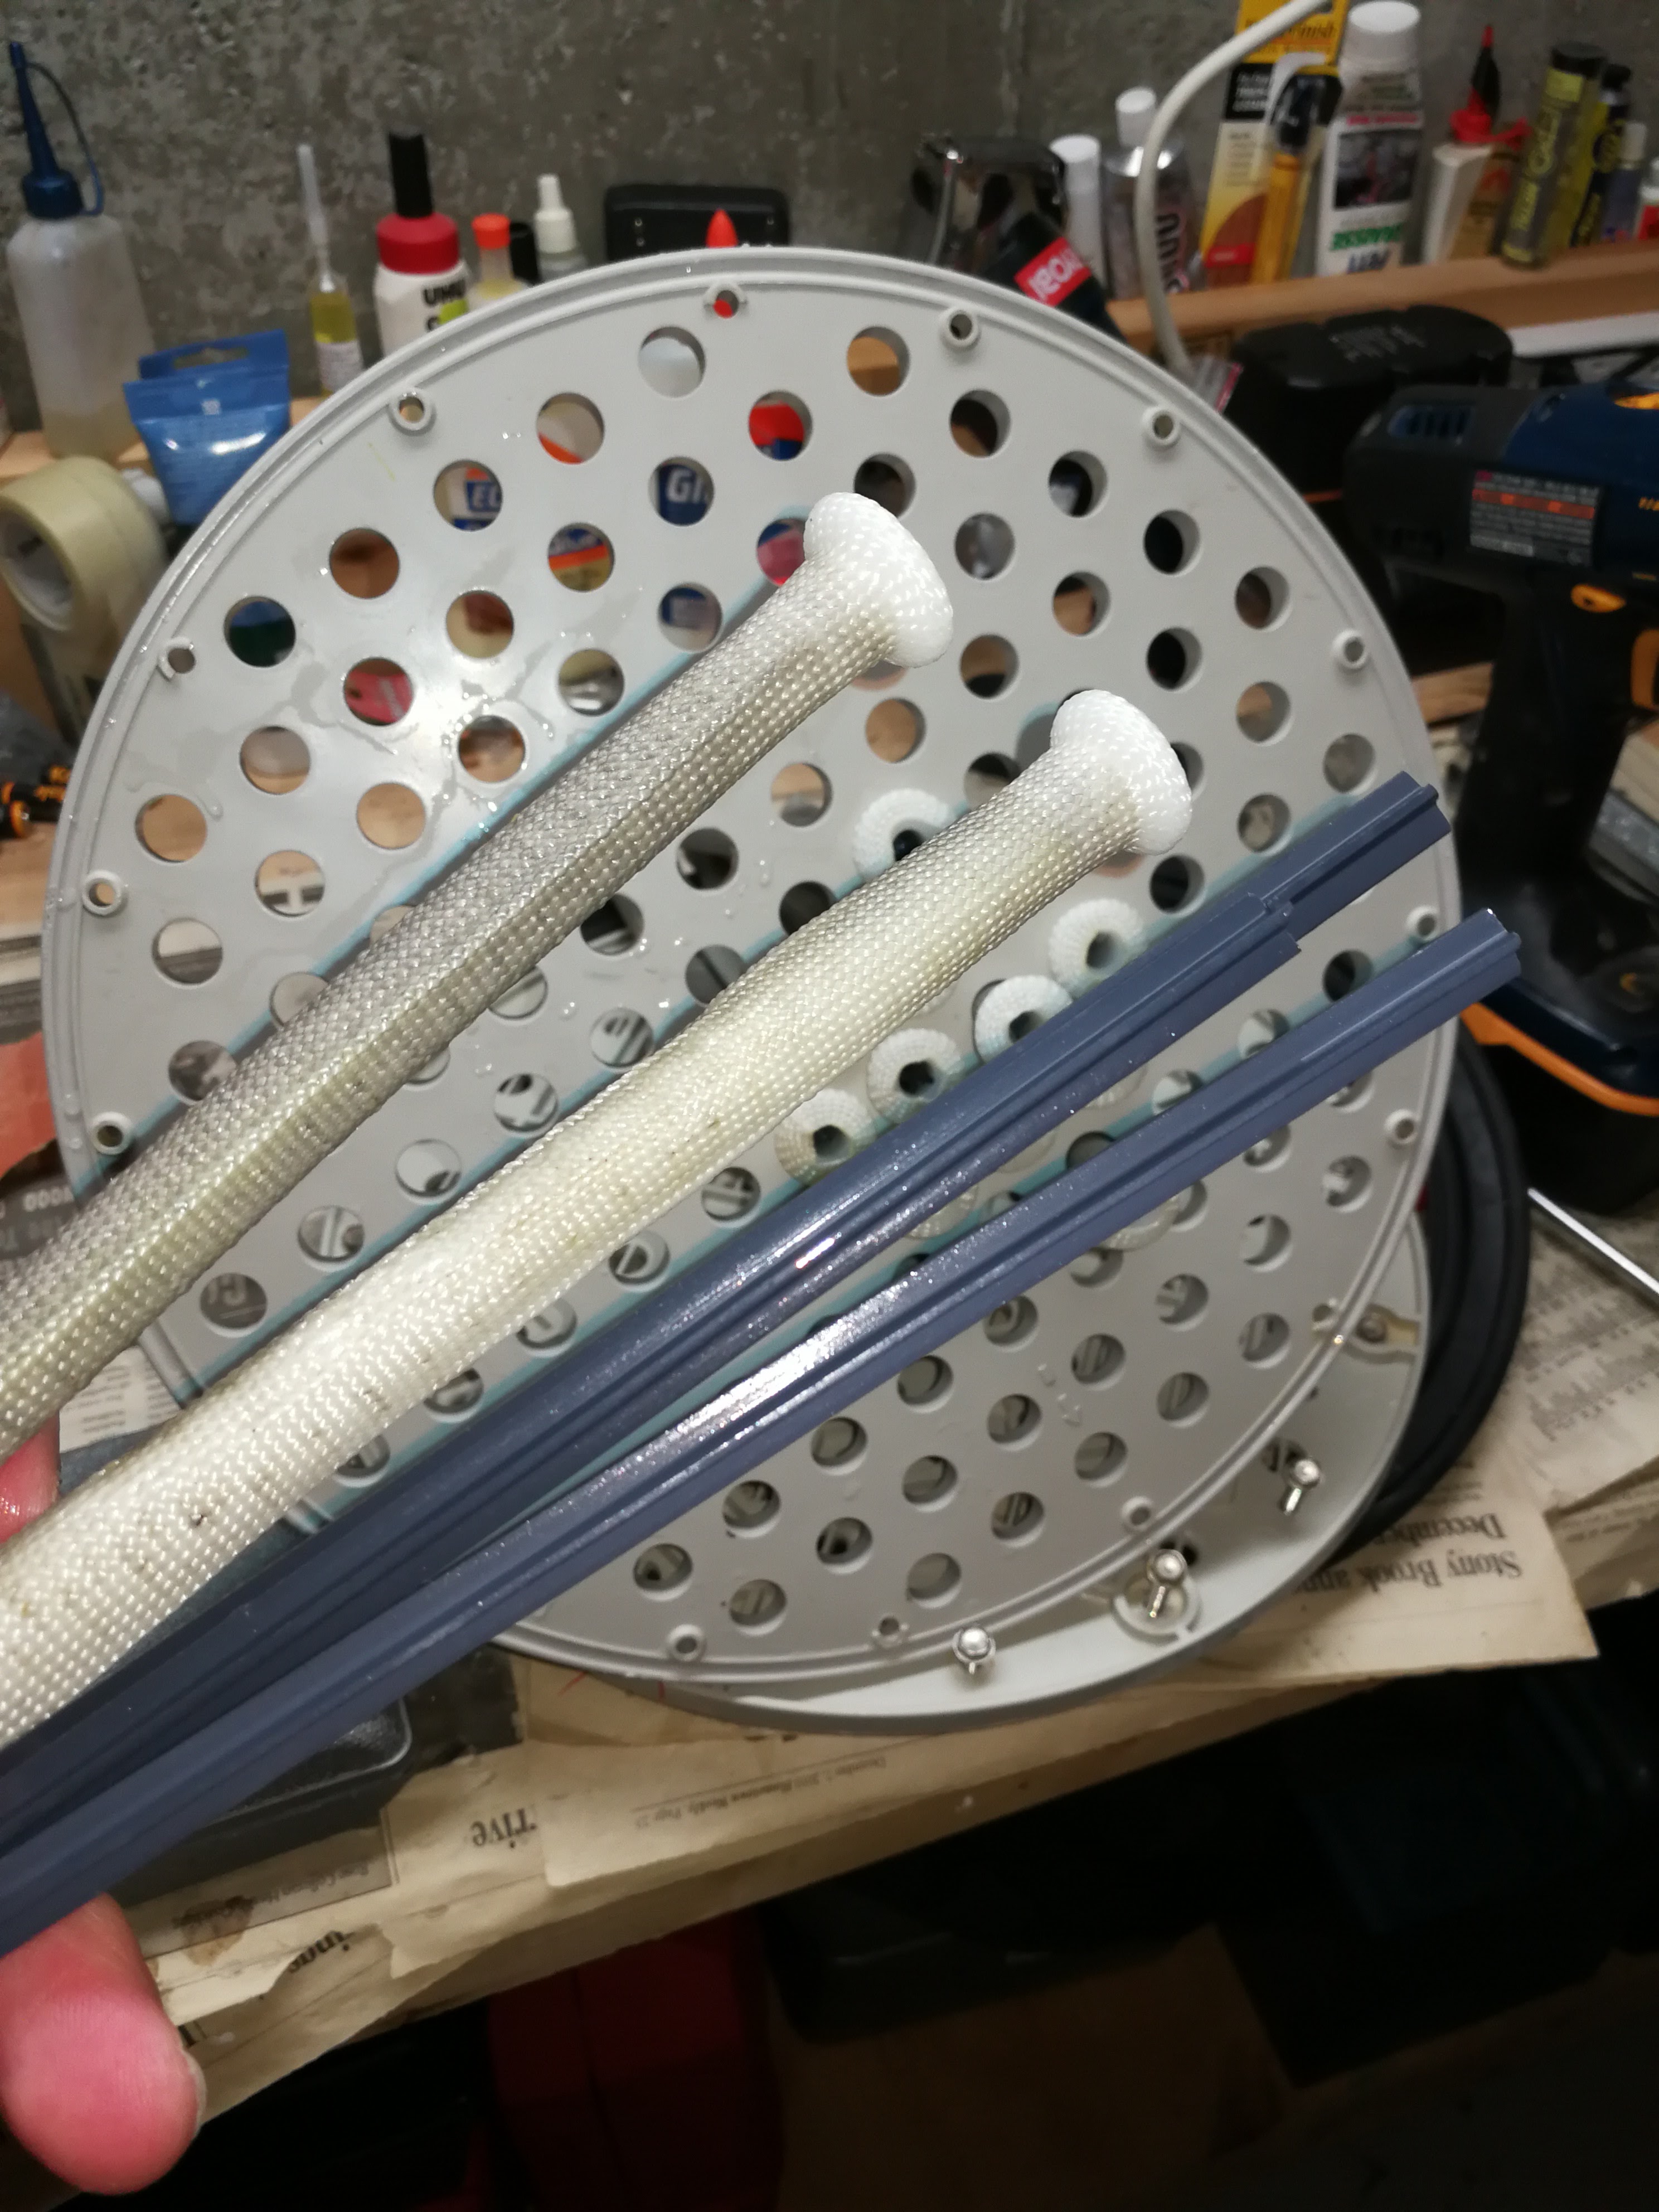
Step 3 – Examine each finger, re-assemble and insert them into the plate
Make sure that any fingers with damaged sleeves are replaced. Also, hopefully you made marks on the plates so that you don’t have to figure out from scratch how they need to be oriented.
Step 4 – Reassemble the unit and make sure everything is aligned correctly
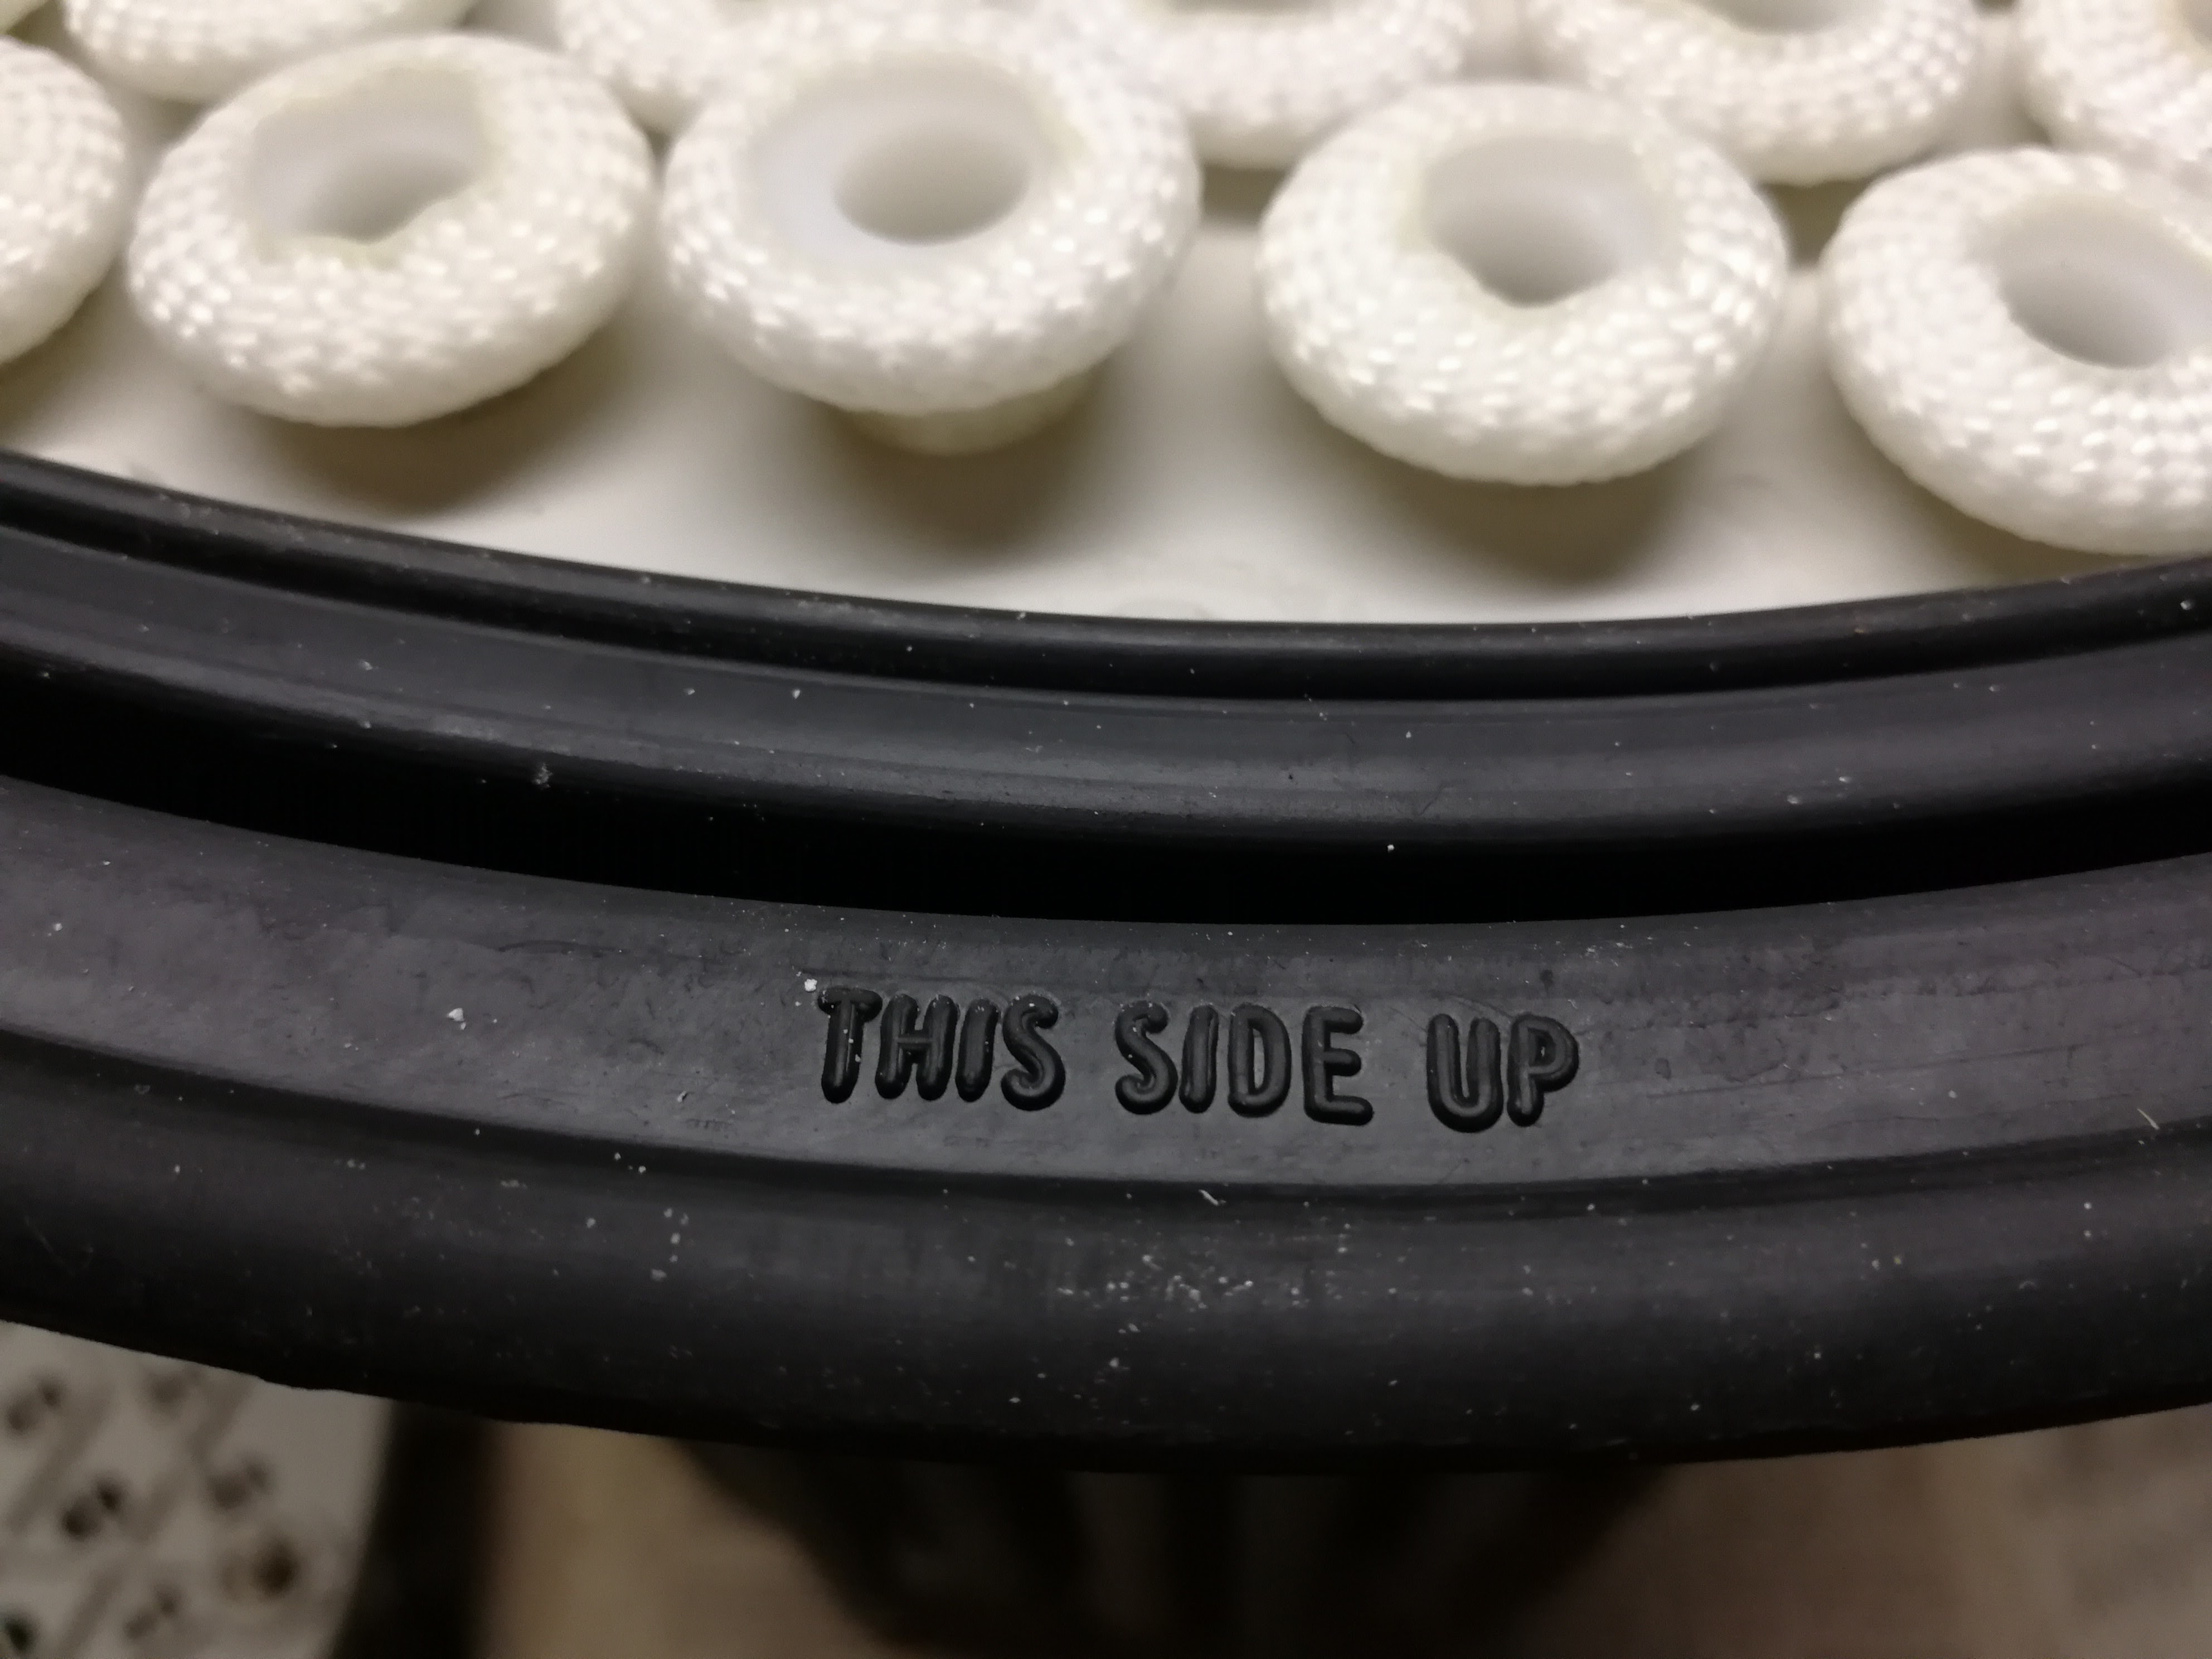
The rubber gasket goes in between the two plates and comes with helpful instructions.
Step 5 – Keep an eye on the pressure gauge
If everything works the way it should, the pressure should remain in the vicinity of the green hand for at least a week during normal operating conditions.