

(without climbing on the roof)
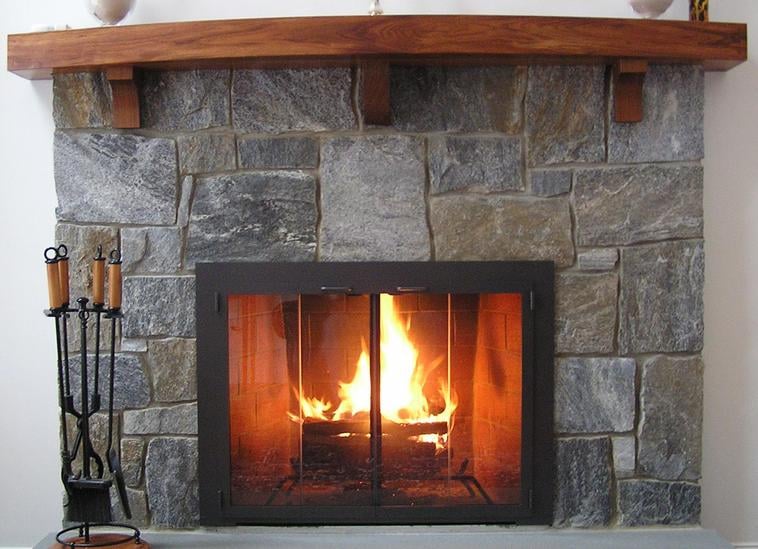
Cast-iron chimney dampers are notoriously leaky by design. There are holes for running cables to the top of the chimney and they don’t close very tightly. In combination with under-pressure in the house (caused by the “stack effect“), the chimney will draw cold air down the flue – you have a down-draft problem. The results are unnecessary heat loss and elevated heating costs. The space in front of the fireplace can become uncomfortably cold, even if you have glass doors in front of the fireplace.
I spoke to the guys who sweep my chimney about this, but they didn’t really know a solution. My online research did not reveal any secret fixes, either. The common recommendation is to install a chimney top damper. I have an exterior chimney and the air space inside the flue is outside of the building envelope. We get plenty of snow and ice here in New England, and installing something with moving parts on top of the chimney seemed like a recipe for aggravation. So I decided to improvise at the bottom.
I ordered a wood stove gasket kit with adhesive (Midwest Hearth Wood Stove Replacement Gasket Kit for Woodburning Stoves – Graphite Impregnated Fiberglass Gaskets and Adhesive (5/8″ x 1/8″ x 84″ Flat Tape) and installed it on the damper door. Here is how.
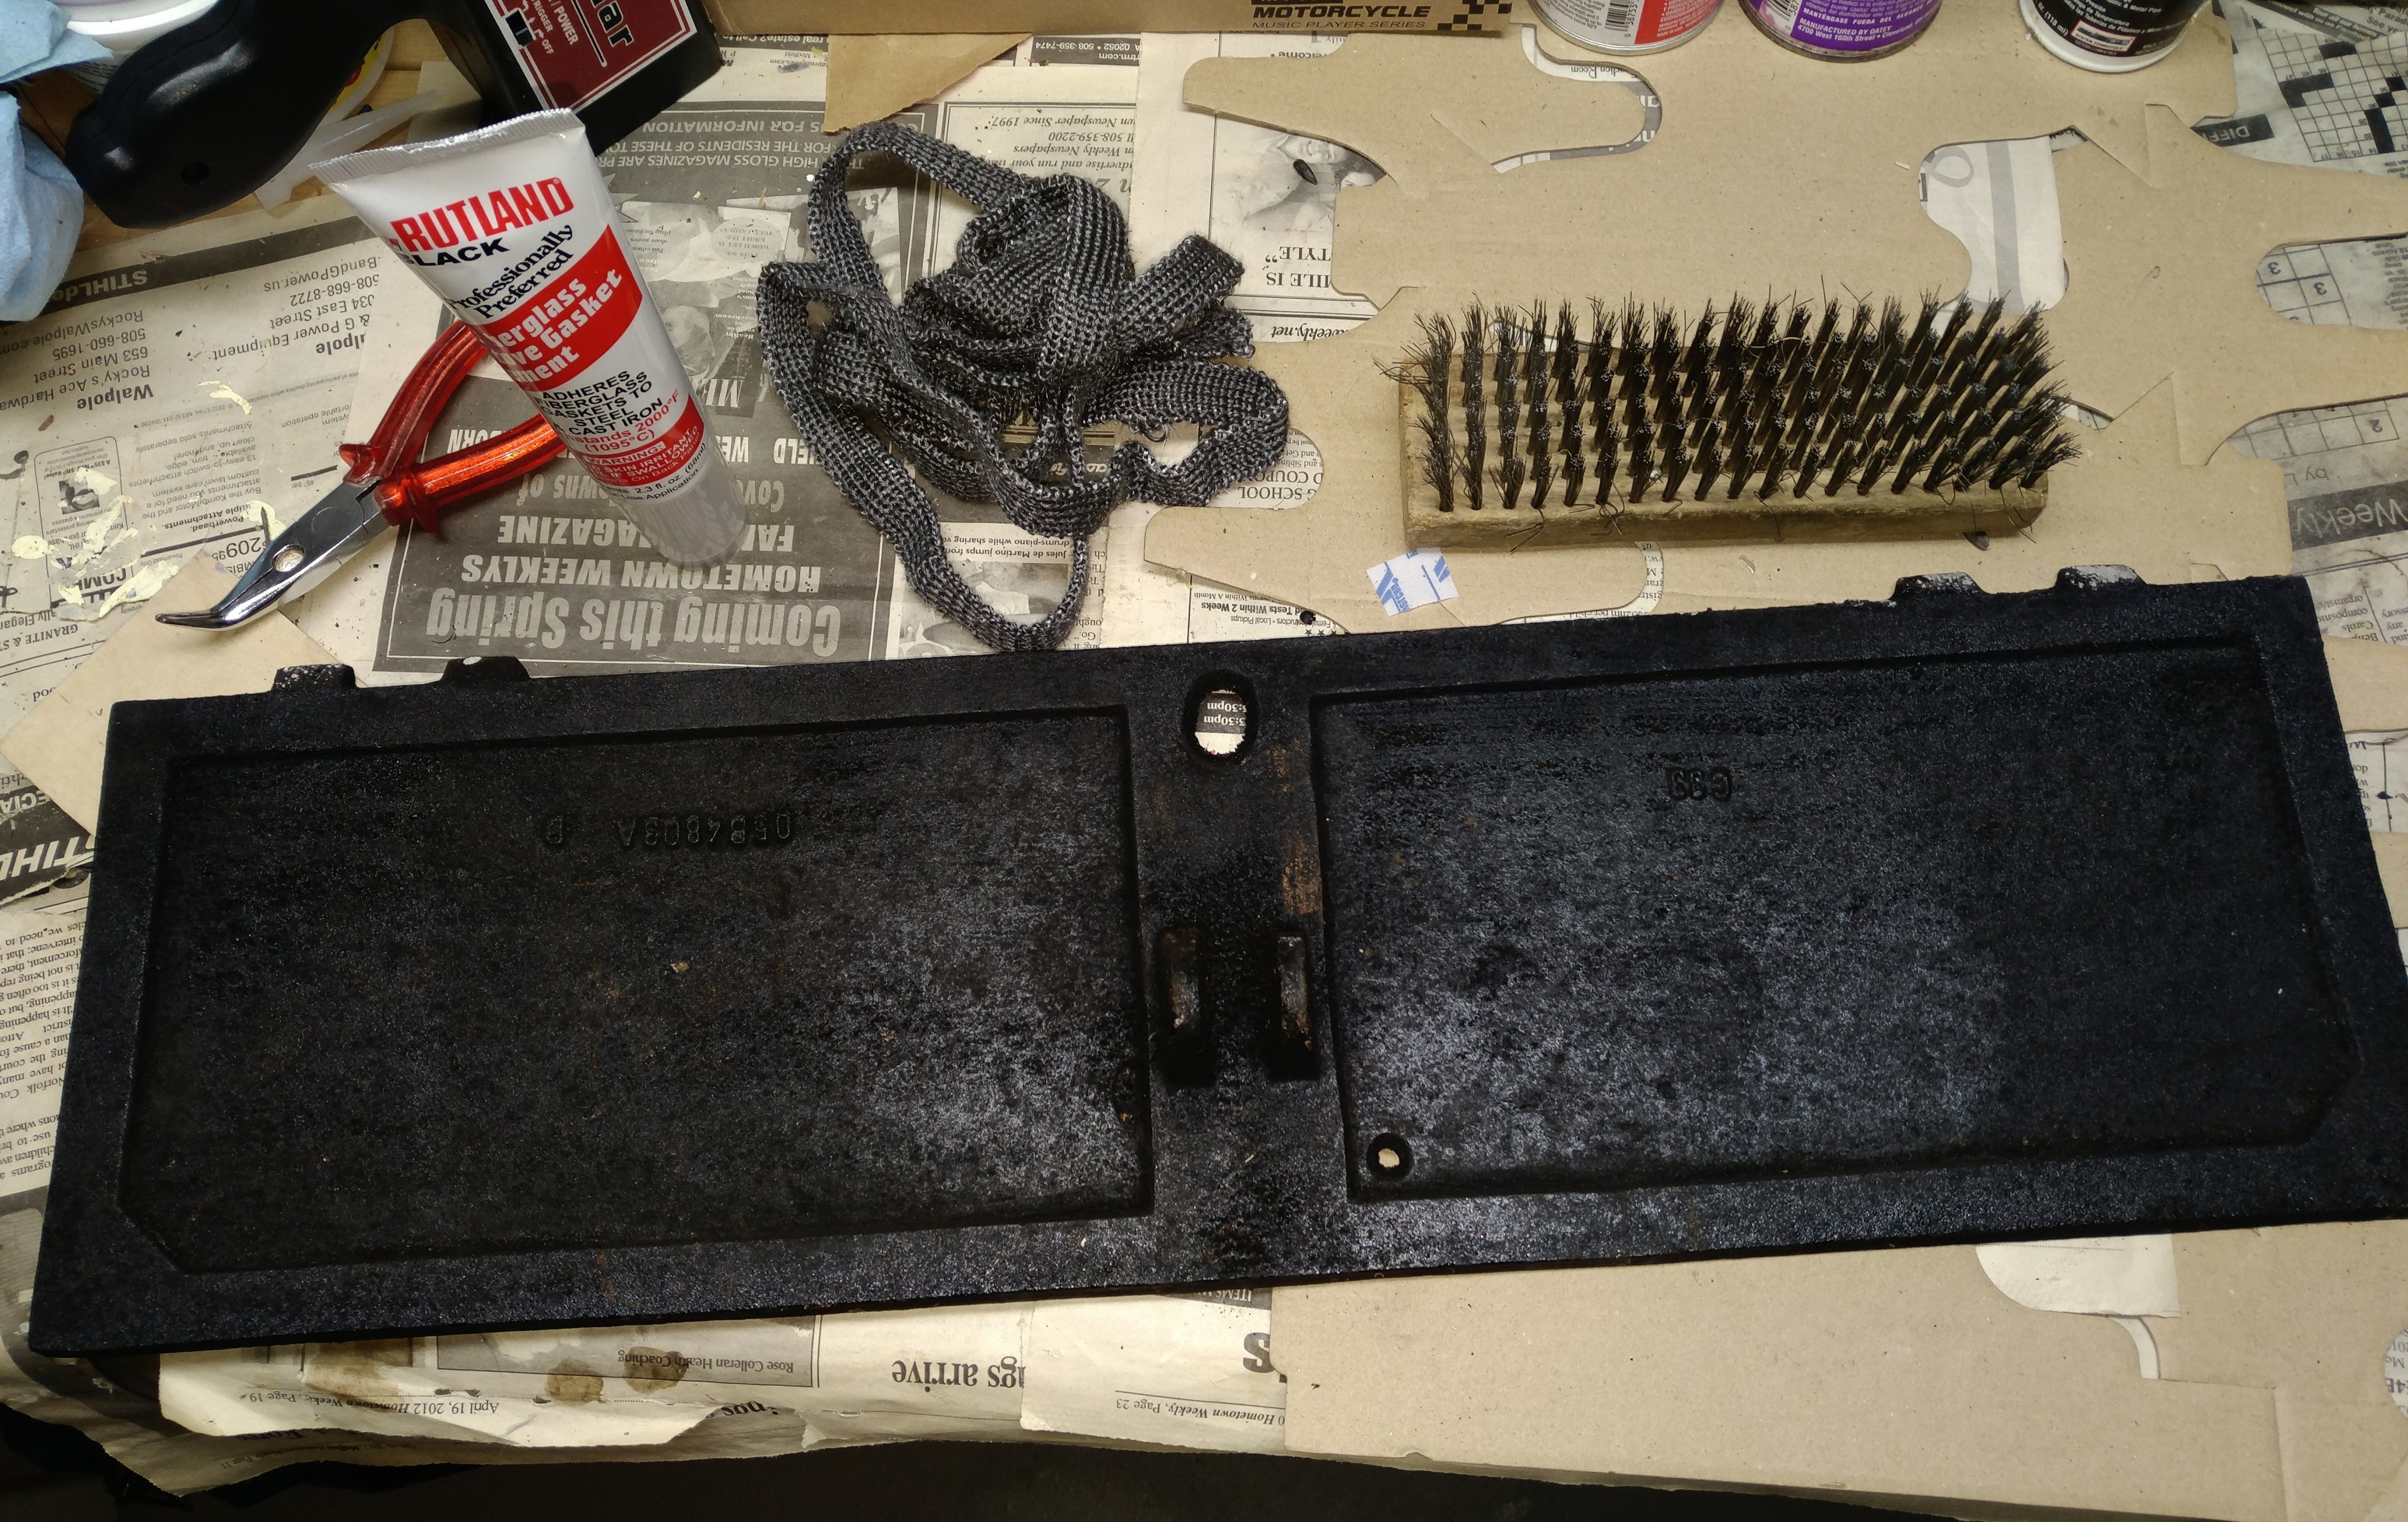
Tools & Materials
- Needle-nose pliers for removing the pin on the door hinge
- Wire brush
- Gasket
- Adhesive
- Scissors
- Water and a sponge
Steps
- Remove the door and clean the edges with the wire brush and a sponge
- Cut the gasket at length
Cutting the fiberglass is not ideal because the cuts fray, but keeping it in one piece by folding the corners is not an option. There has to be uniform thickness all around the perimeter, or we will not improve the seal.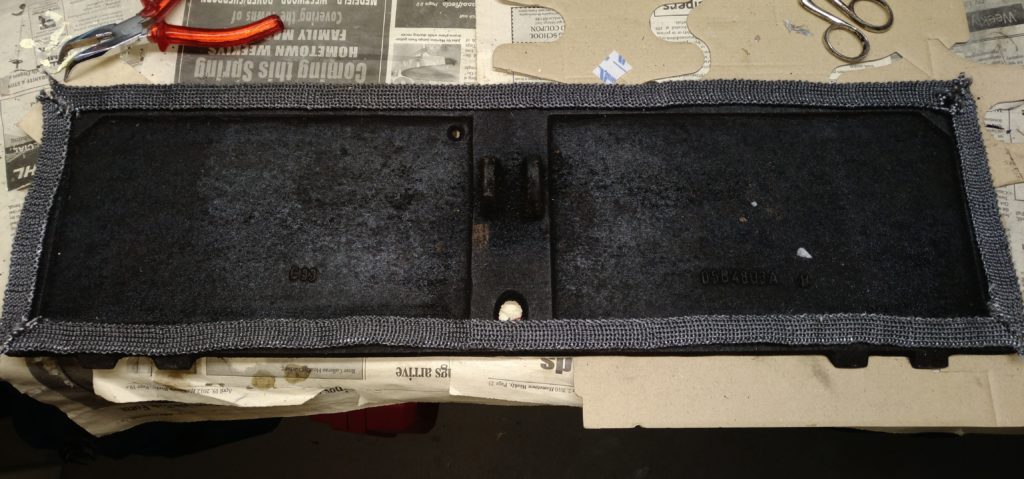
Cutting the gasket - Wet the edges with the sponge and apply a bead of cement, then press the gasket pieces onto the cement. I used the back of the wire brush to flatten them as much as possible. I glued a rectangular piece on a hole to close it.
- Let dry for 1 hour. The instructions asked for closing the door, then opening it again, but with the wet cement and the gasket moving around a bit, this would have been difficult. So I decided to let it sit on the work bench.
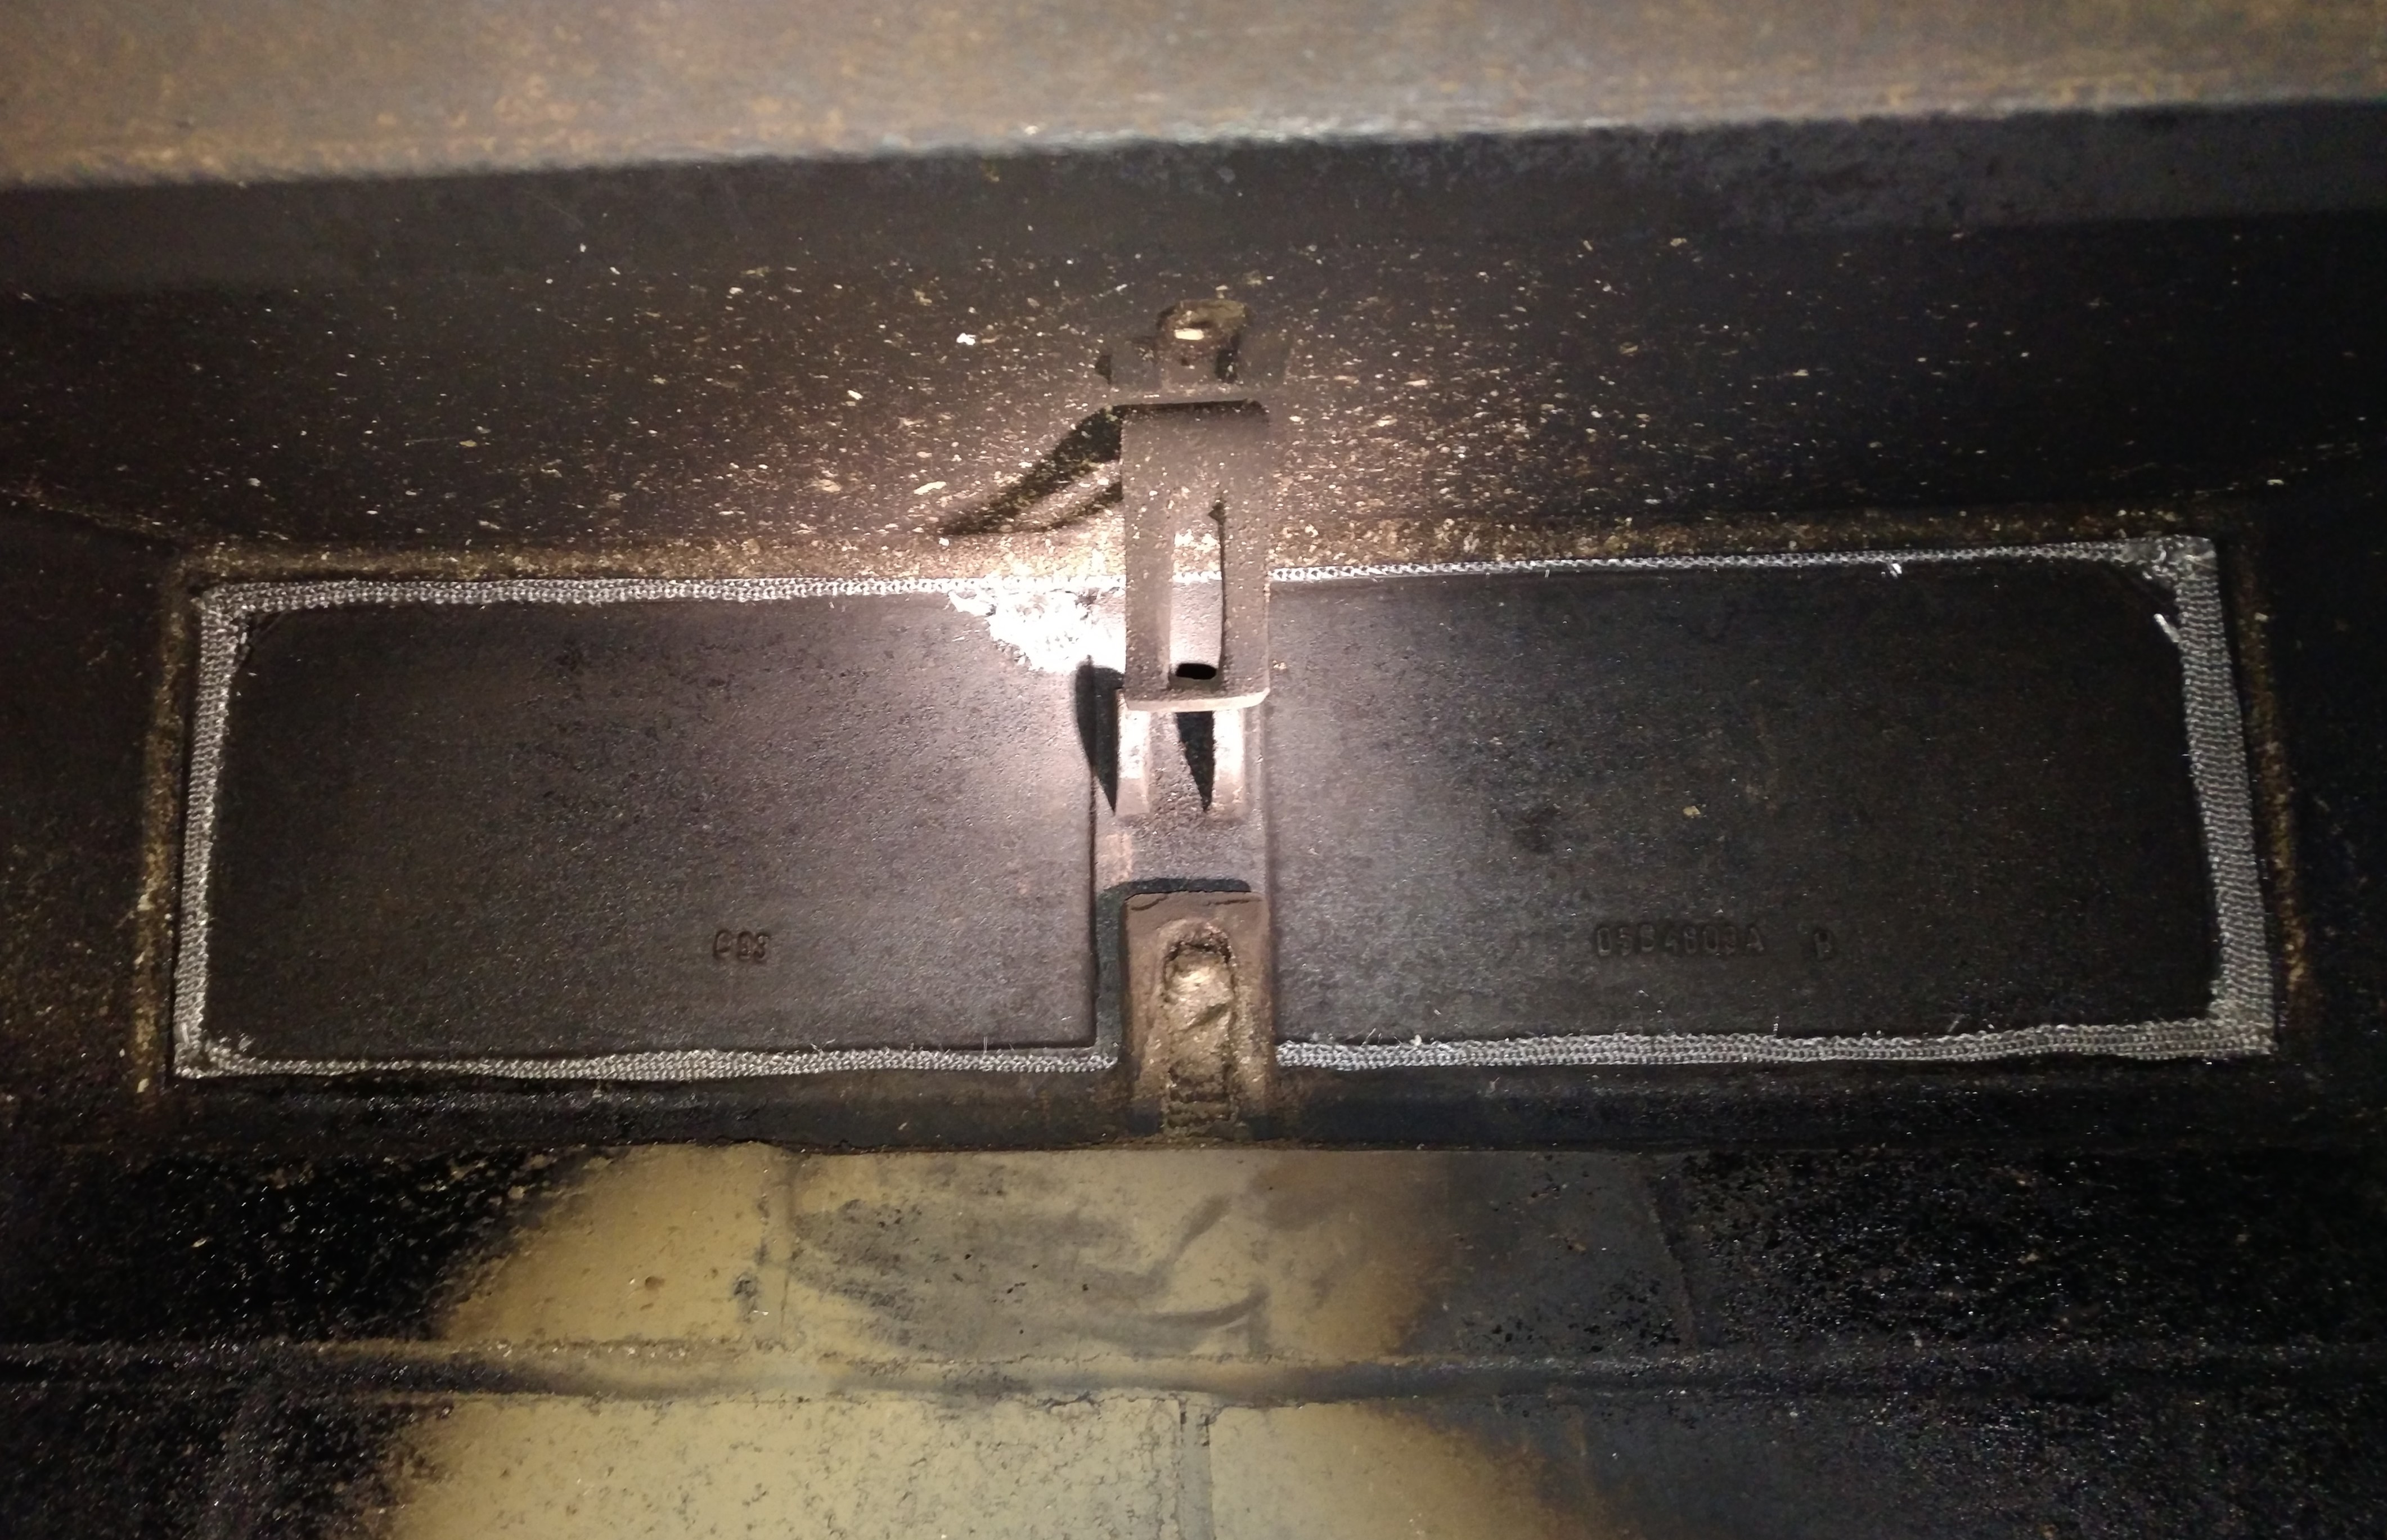
- Reinstall the door

The installed damper with the seal - Light a fire (the cement has to get heated to 500°F to fully cure)

Should this not work out as expected, for example because soot buildup reduces the seal over time or the seal coming off again, I will have to use an angle grinder to remove it. But for now my living room feels much warmer when there is no fire.
March 2019 Update
The gasket fell off at the beginning of the 2018/19 heating season, so this solution only lasted for one season. I don’t recommend this approach, it is not worth the effort. Maybe there is a different type of cement that lasts longer.