

Expanding a RAID array on a QNAP NAS device is documented in detail in the user manual, but alas, the many desperate calls for help on the QNAP forums are evidence that this process does not always work smoothly.
So I was not surprised when I was unsuccessful with my upgrade. I replaced 4x2TB disks with 4x3TB disks because I had run out of space in my RAID 5 array.
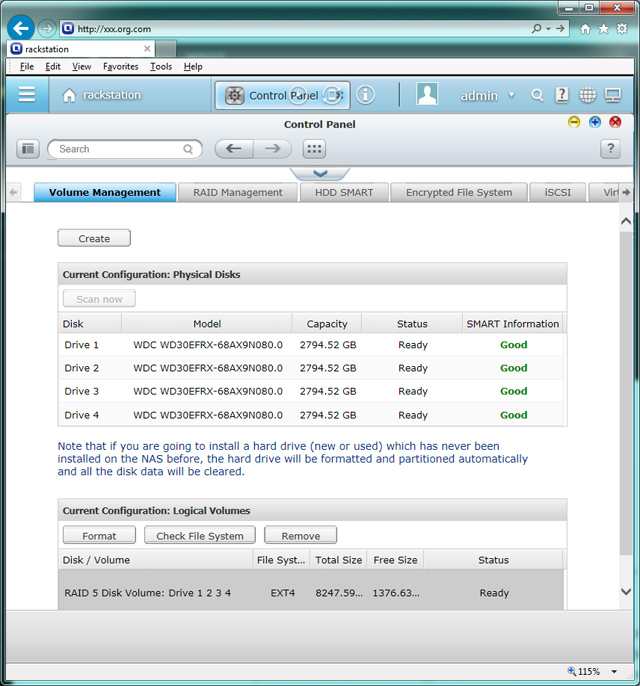
This is exactly the scenario I was working with, except for the disk sizes (image taken from the QNAP documentation):


Steps 1 through 6 worked as expected. I was able to replace and rebuild each drive through the Web interface as described in the manual. Then I had a RAID 5 array on the new 3TB disks, but still with the old size (5469 GB instead of 8248 GB). Steps 7 and 8 are meant to expand the RAID array so that the newly added space is put to use. The Expand process never completed, though. After 24 hours it would still say Expanding… (50%). So I contacted support. What followed was a replay of all the recipes that I had previously seen on the forums. But because there was no single set of instructions for the whole process, and because there were some discrepancies here and there between what my support engineer told me and what other people did, and because I have a record of everything I did and I know it worked, I decided to publish my own version.
The short version is that the UI stumbles on two potential issues, and it does not tell you. Issue number one is that it may not be able to stop all the services that access the volume, and subsequently the volume cannot be unmounted. I had a lot of things running, including Surveillance Station, EyeOS, and TigerCRM. I don’t think that QNAP tests their script with all the potential packages that people may have installed on their device.
The second issue is that there is not enough swap memory. This needs to be addressed. As a result, the only way to complete the expansion successfully is via command shell. Here is what you need to do – assuming that all disks have been replaced and rebuilt, i.e. you have successfully completed steps 1 through 6 in the documentation.
1. Reboot the NAS
This is a good idea, because you may have the device in some undefined state, based on prior attempts of addressing the issue.
2. Stop the services
Support told me to run the following commands:
#/etc/init.d/services.sh stop

#umount /dev/md0 (NOTE: do not proceed if md0 cannot be unmounted!)

#e2fsck -f /dev/md0

#resize2fs /dev/md0

#storage_boot_init 2

#/etc/init.d/services.sh start
So I did:
[~] # /etc/init.d/services.sh stop

Stop qpkg service: Disable Optware/ipkg

kill: usage: kill [-s sigspec | -n signum | -sigspec] pid | jobspec ... or kill -l [sigspec]
kill: usage: kill [-s sigspec | -n signum | -sigspec] pid | jobspec ... or kill -l [sigspec]
Remove link /mnt/ext/opt/videostation

Create disable link to /mnt/ext/opt/videostation

Remove link /share/MD0_DATA/Web/videostation

Create disable link to /share/MD0_DATA/Web/videostation

.

Stop service: cloud3p.sh vpn_openvpn.sh vpn_pptp.sh ldap_server.sh antivirus.sh iso_mount.sh qsyncman.sh rsyslog.sh snmp nvrd.sh lunportman.sh iscsitrgt.sh smb.sh nfs crond.sh Qthttpd.sh twonkymedia.sh init_iTune.sh ImRd.sh StartMediaService.sh bt_scheduler.sh btd.sh ftp.sh atalk.sh mysqld.sh recycled.sh .

[~] # umount /dev/md0

umount: /share/MD0_DATA: device is busy

umount: /share/MD0_DATA: device is busy
As you can see, umount did not complete. At this point support was of no help. Quote:
Please try to reboot the NAS and then log right back into SSH on the QNAP and run the commands again to see if it can stop the process.
It could not. I had to manually stop things, first every application and service that had a checkbox in the web interface, then by uninstalling TigerCRM and EyeOS that I was not using anyway. After several iterations of trial and error, the umount finally worked. I cannot say what had initially caused it to fail.
3. Run file system check (e2fsck)
On to the next step:
[~] # e2fsck -f /dev/md0

e2fsck 1.41.4 (27-Jan-2009)

Pass 1: Checking inodes, blocks, and sizes

Pass 2: Checking directory structure

Pass 3: Checking directory connectivity

Pass 4: Checking reference counts

Pass 5: Checking group summary information

/dev/md0: 1979044/365993984 files (3.0% non-contiguous), 1352060256/1463959200 blocks

[~] #

[~] # resize2fs /dev/md0

resize2fs 1.41.4 (27-Jan-2009)

Resizing the filesystem on /dev/md0 to 2196523200 (4k) blocks.

resize2fs: Memory allocation failed while trying to resize /dev/md0

[~] #
4. If it fails, add swap space
I had seen this issue in other forum posts, but I did not have to add a storage device to address it. Support gave me the following procedure to follow that I copied and pasted ad verbatim (this is not what I ended up executing, because my partition 2 was not on md8):
[~] # more /proc/mdstat

Personalities : [linear] [raid0] [raid1] [raid10] [raid6] [raid5] [raid4] [multipath]
md0 : active raid5 sda3[0] sdh3[7] sdg3[6] sdf3[5] sde3[4] sdd3[3] sdc3[2] sdb3[1]
20500882752 blocks super 1.0 level 5, 64k chunk, algorithm 2 [8/8] [UUUUUUUU]
bitmap: 0/11 pages [0KB], 131072KB chunk
md8 : active raid1 sdh2[2](S) sdg2[3](S) sdf2[4](S) sde2[5](S) sdd2[6](S) sdc2[7](S) sdb2[1] sda2[0] 530048 blocks [2/2] [UU]
md13 : active raid1 sda4[0] sdh4[7] sdg4[6] sdf4[5] sde4[4] sdd4[3] sdc4[2] sdb4[1] 458880 blocks [8/8] [UUUUUUUU] bitmap: 1/57 pages [4KB], 4KB chunk
md9 : active raid1 sda1[0] sdh1[7] sdf1[6] sdg1[5] sdd1[4] sde1[3] sdc1[2] sdb1[1]
530048 blocks [8/8] [UUUUUUUU]e2
bitmap: 0/65 pages [0KB], 4KB chunk
You want to look for partition 2. In the above it is md8 but it could be different on your NAS. Just look where the drives are assembled in partition2 such as sda2, sdb2, sdc2 ,sdd2 etc.
Once you know where partition two is assembled, do the following commands below:
unused devices:
[~] # swapoff /dev/md8
[~] # mdadm -S /dev/md8
mdadm: stopped /dev/md8
[~] # mkswap /dev/sda2
Setting upwapspace ve srsion 1, size = 542859 kB
no label, UUID=7194e0a9-be7a-43ac-829f-fd2d55e07d62
[~] # mkswap /dev/sdb2
Setting up swapspace version 1, size = 542859 kB
no label, UUID=0af8fcdd-8ed1-4fca-8f53-0349d86f9474
[~] # mkswap /dev/sdc2
Setting up swapspace version 1, size = 542859 kB
no label, UUID=f40bd836-3798-4c71-b8ff-9c1e9fbff6bf
[~] # mkswap /dev/sdd2
Setting up swapspace version 1, size = 542859 kB
no label, UUID=4dad1835-8d88-4cf1-a851-d80a87706fea
[~] # swapon /dev/sda2
[~] # swapon /dev/sdb2
[~] # swapon /dev/sdc2
[~] # swapon /dev/sdd2
5. Run e2fsck again
[~] # e2fsck -f /dev/md0

e2fsck 1.41.4 (27-Jan-2009)

Pass 1: Checking inodes, blocks, and sizes

Pass 2: Checking directory structure

Pass 3: Checking directory connectivity

Pass 4: Checking reference counts

Pass 5: Checking group summary information

/dev/md0: 1979044/365993984 files (3.0% non-contiguous), 1352060256/1463959200 blocks
5. Run resize2fs, restart the RAID, and restart the services
[~] # resize2fs /dev/md0

resize2fs 1.41.4 (27-Jan-2009)

Resizing the filesystem on /dev/md0 to 2196523200 (4k) blocks.

The filesystem on /dev/md0 is now 2196523200 blocks long.
Amen.
The rest is history.
[~] # storage_boot_init 2

storage_boot_init 2 ...

mdadm: /dev/md0 not identified in config file.

mdadm: stopped /dev/md0

mdadm: /dev/md0 has been started with 4 drives.

storage_boot_init.c: Start raid device /dev/md0 successfully

md0 : active raid5 sda3[0] sdd3[3] sdc3[2] sdb3[1]
md0 : active raid5 sda3[0] sdd3[3] sdc3[2] sdb3[1]
md0 : active raid5 sda3[0] sdd3[3] sdc3[2] sdb3[1]
md0 : active raid5 sda3[0] sdd3[3] sdc3[2] sdb3[1]
storage_boot_init.c: /dev/md0 is active.

storage_boot_init.c: Check filesystem on /dev/md0.

storage_boot_init.c: check_last_degrade_error...

[~] # /etc/init.d/services.sh start

Start services: recycled.sh mysqld.sh atalk.sh ftp.sh bt_scheduler.sh btd.sh StartMediaService.sh ImRd.sh init_iTune.sh twonkymedia.sh Qthttpd.sh crond.sh nfs smb.sh lunportman.sh iscsitrgt.sh nvrd.sh snmp rsyslog.sh qsyncman.sh iso_mount.sh antivirus.sh ldap_server.sh vpn_pptp.sh vpn_openvpn.sh cloud3p.sh .

Start qpkg service: Error: Optware is disabled.
VideoStation is disabled.
[~] #Success. Now all I had left to do was to restart the services that I needed. This looks daunting for someone with little Linux experience, but there is no way around it until QNAP fixes their scripts.