


My wife’s car needs scheduled maintenance. The other day I went on the dealer’s website to schedule an appointment.
While on the website, I learned two things:
- Everybody can access my vehicle data on their website with just my phone number
- Apparently, I need a new secondary air pump

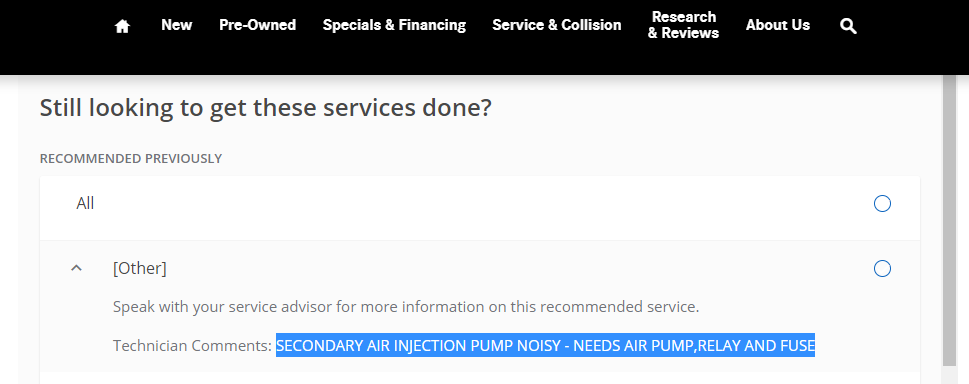
Item #1 we’ll address on another day. The second item was interesting, because I had noticed the vacuum cleaner-like sound myself for a while, but nobody at the dealership spoke to me about this when I was there a few months ago to (finally) have the airbag replaced (Takata recall).
So, I did a quick Google search to validate that the noise I was hearing whenever my wife started the car was indeed the secondary air pump. I was able to confirm this quickly, but I also found that this was a very simple and inexpensive repair to do myself.
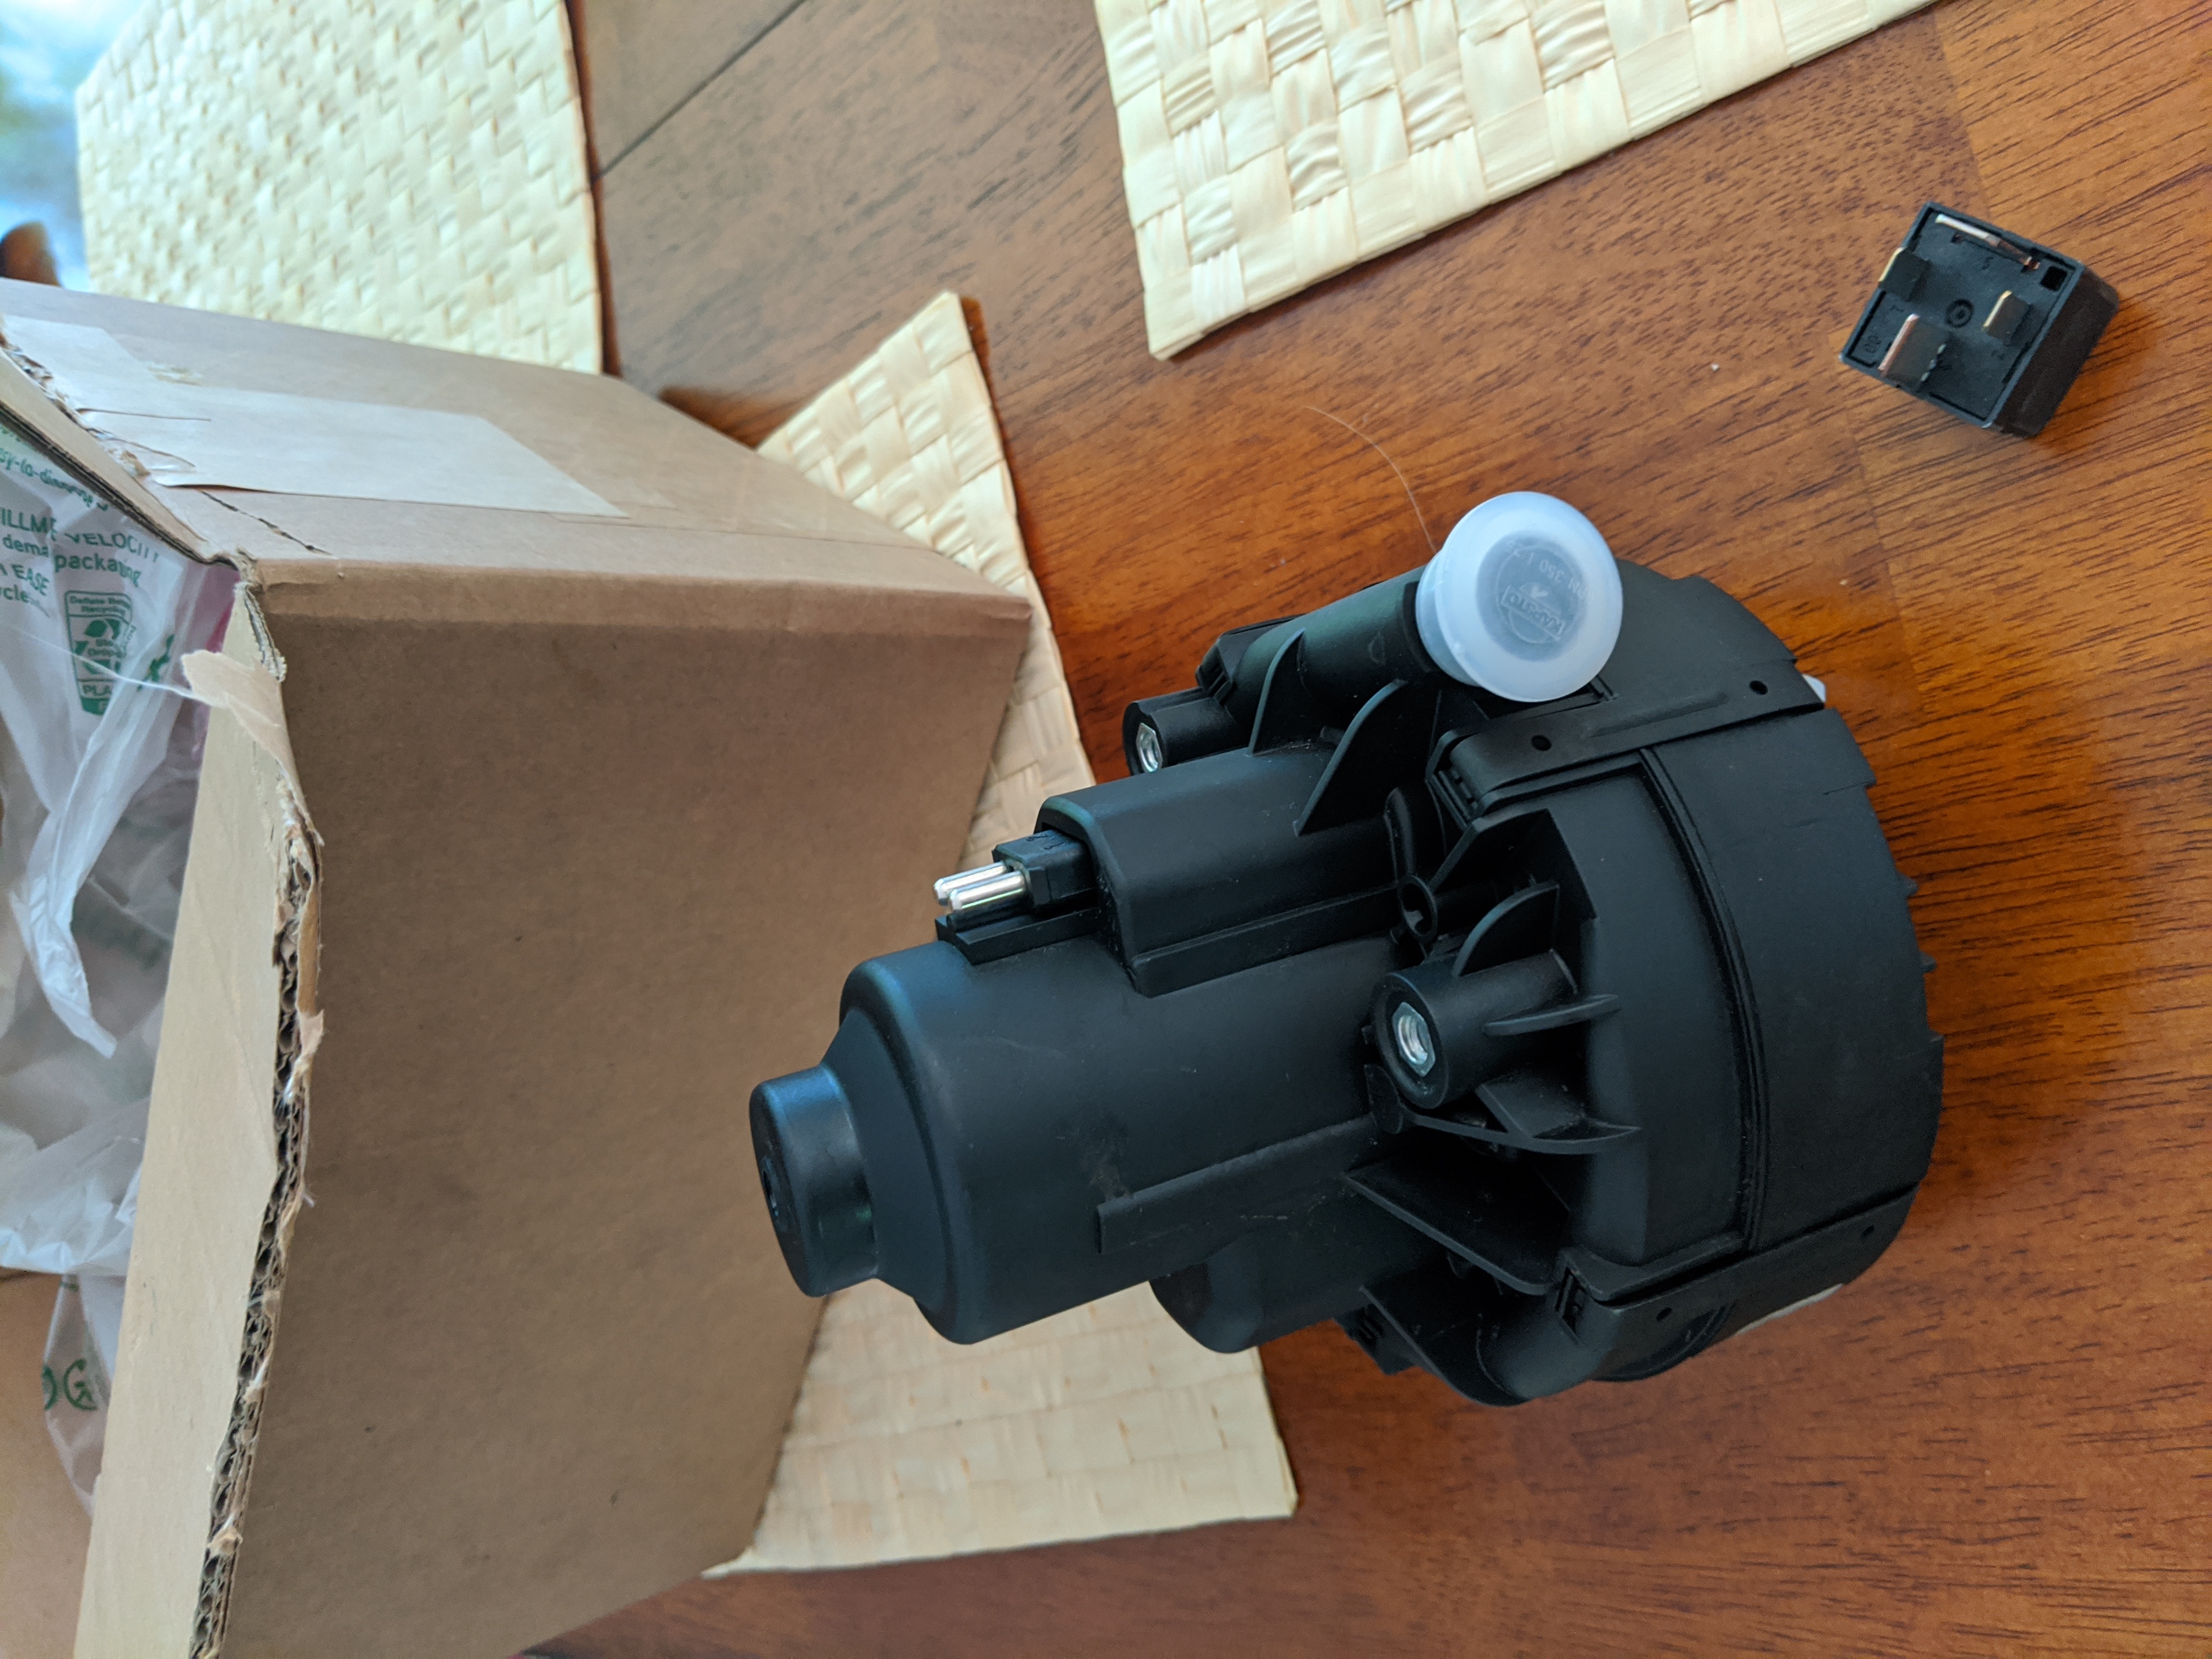
The dealer’s note on the website mentioned replacing the fuse as part of the repair. I am an old-school electrical engineer, and I don’t replace a perfectly fine fuse. The mere suggestion that this was necessary or even a good idea ticked me off so much that it was clear that they would not be doing this repair. I searched around a bit and ordered an OEM pump and relay from an online parts store for about $180 (about $20 of this was for shipping). Places like Amazon or Ebay are always a bit sketchy when it comes to ordering automotive parts. You just never know what you are getting.
The parts arrived on a Friday afternoon. I had some time on my hands and decided to work on it right away.
I am not going to walk you through the steps here – there are several Youtube videos that show you how to remove the pump on a Mercedes W204 chassis (C300). But I ran into a couple of small obstacles that you should appreciate before you work on it, hence this post.
The first potential obstacle is not having the proper tools. I have a decent set of Torx sockets, but they are 1/4″ drive and my wrench is 3/8″. So I had to insert an adapter, which made the whole thing a little too big for the job. Also, you really can’t get to the lower screws with a straight socket extension because the serpentine belt is in the way. You don’t want to put any mechanical stress on that belt – it can become the source of many (more costly) problems. One of the videos mentioned a “wiggly” socket, which I didn’t have. I think this was a reference to impact sockets that have a universal joint built in. I went to the hardware store and bought a 1/4″ universal joint adapter. With this, I was able to reach all screws and loosen them, but to get the lowest screw out all the way, I needed something else.
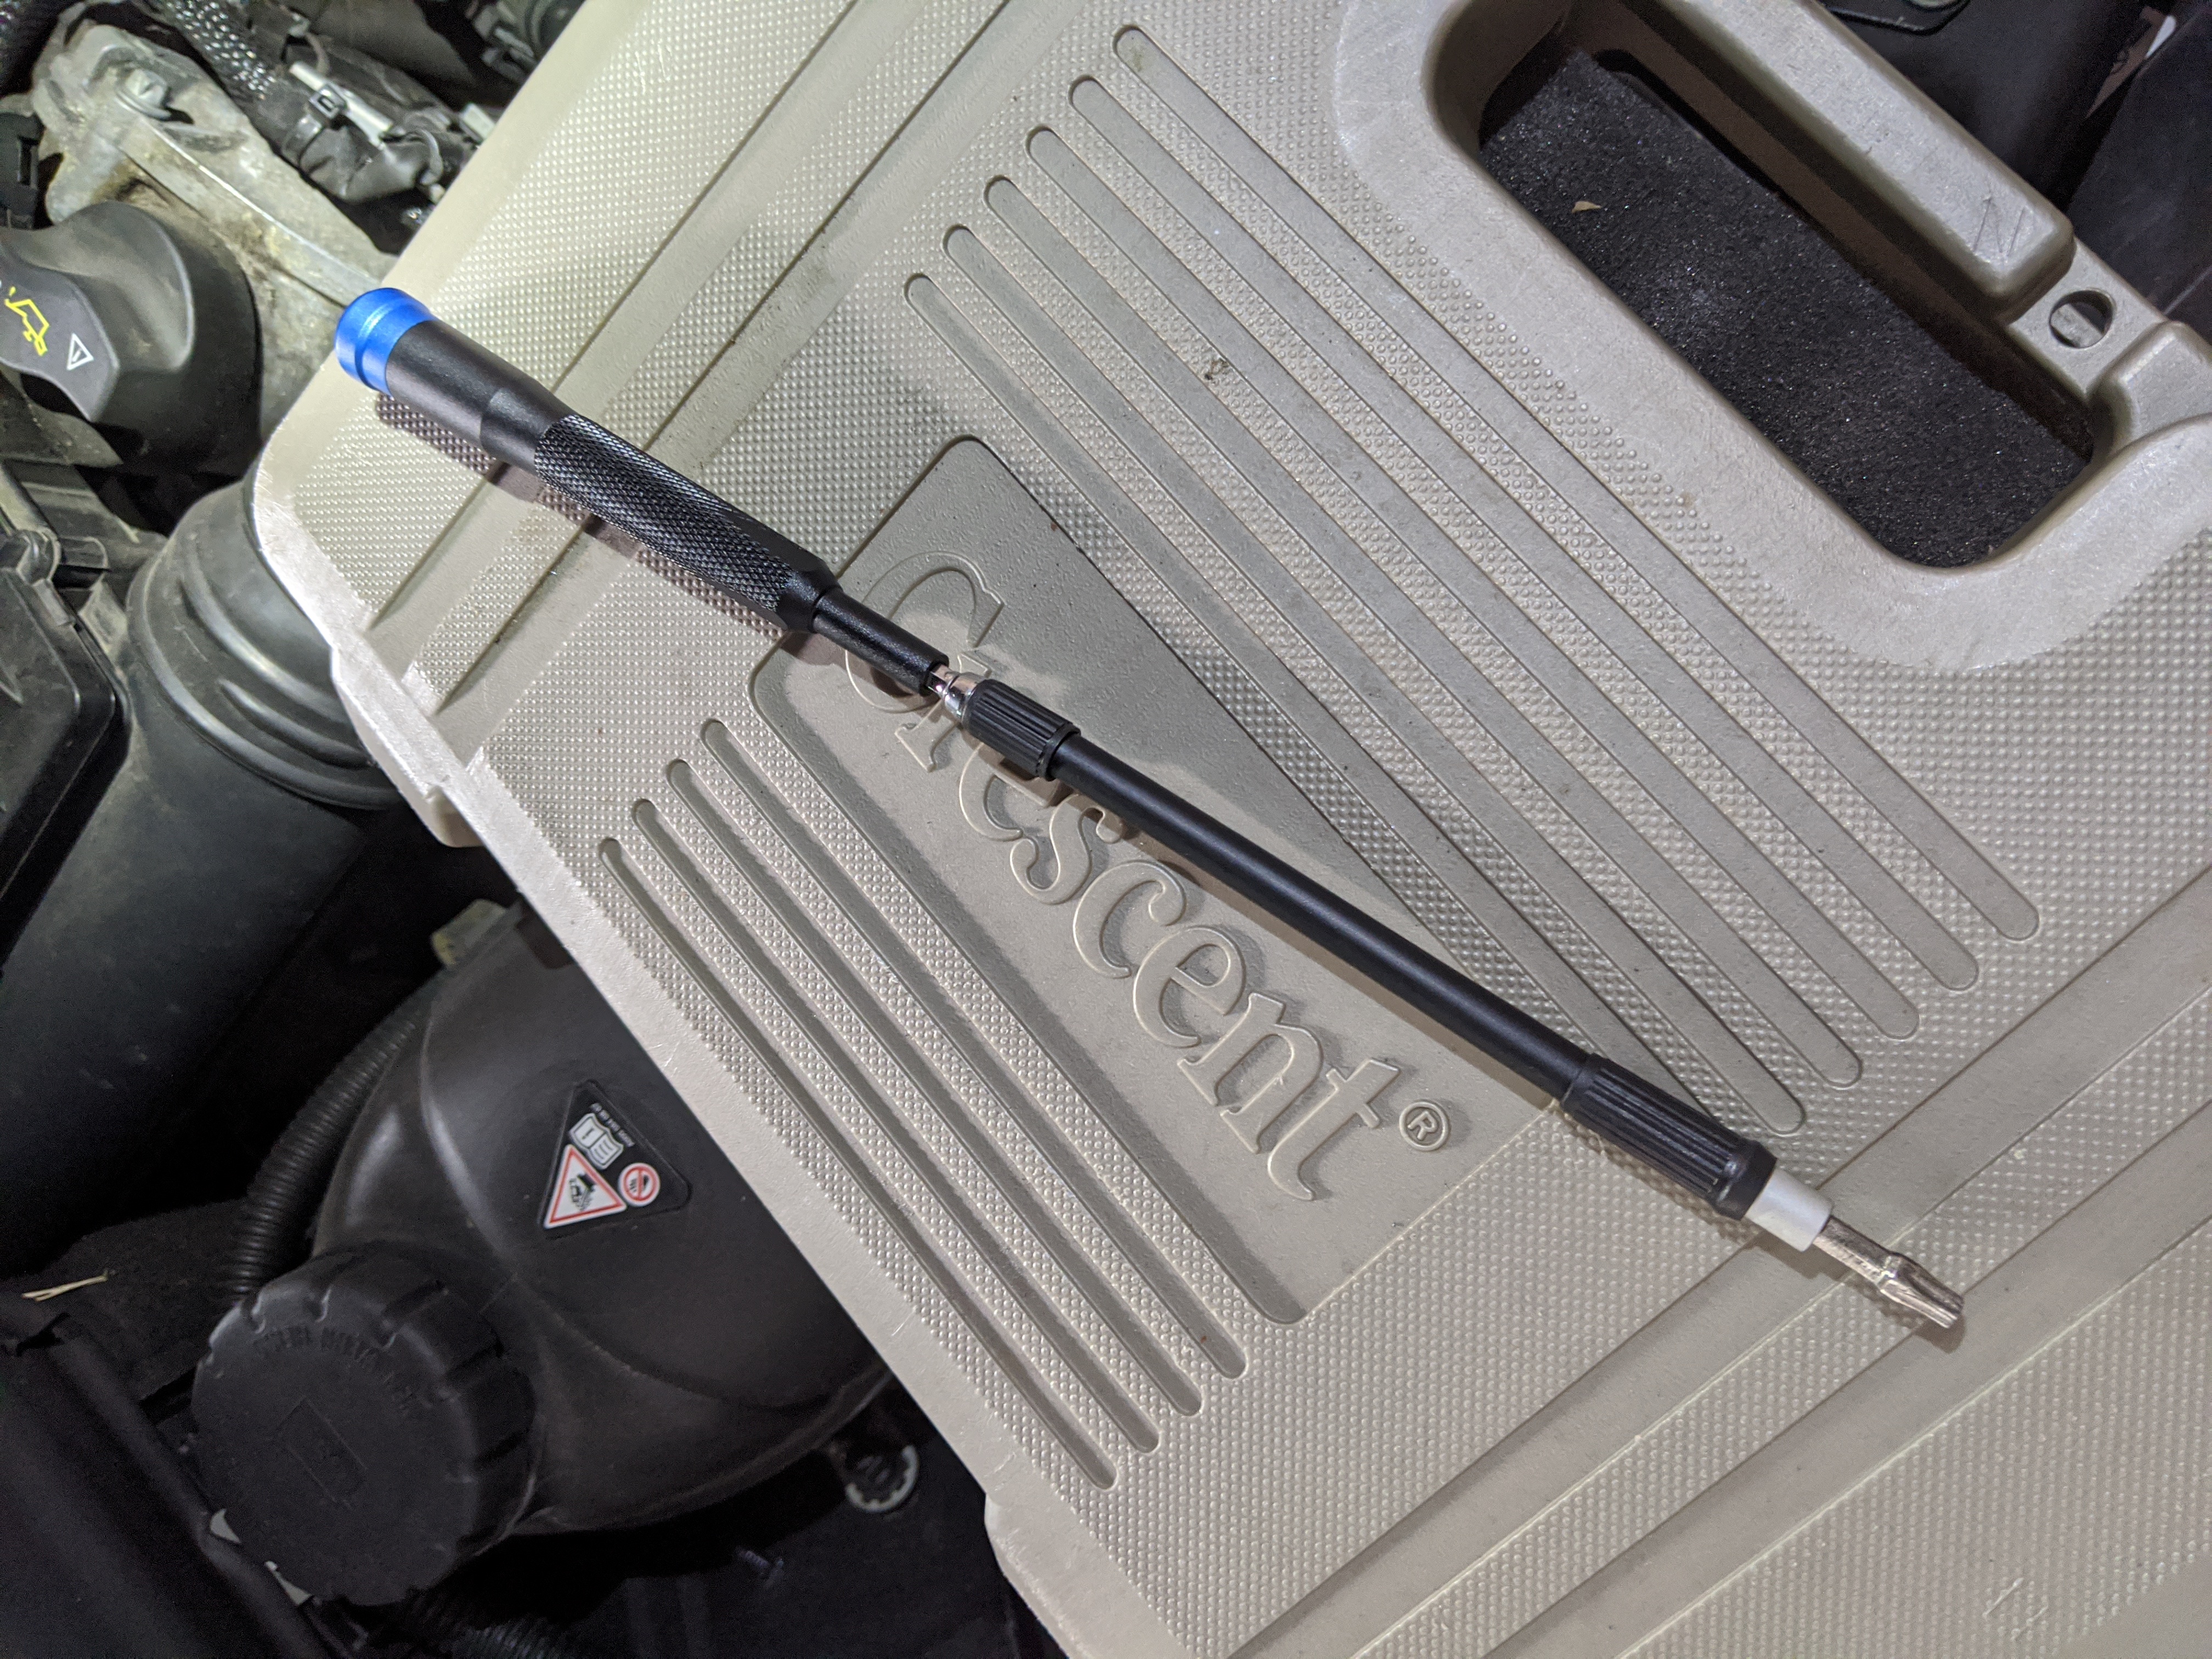
Luckily, I remembered my iFixit tool kit that I recently acquired for a MacBook repair. It includes a flexible drive extension, and the largest Torx bit in the set connected well enough so that I could easily take all the screws out (see photo above).
Before I removed the old pump, and with all but one screw out, I remembered to take a video of the noise prior to the replacement. Enjoy:

The rest was relatively simple. Old pump out, new pump in, connecting power and hoses was easy. Getting the screws back in and tightened took a bit of patience, first with the flexible screw driver, then the wrench with the universal joint adapter.
Finding the location of the relay unexpectedly took a bit of time because of all the noise in the online search results. To save you time searching, here is a shortcut for you:

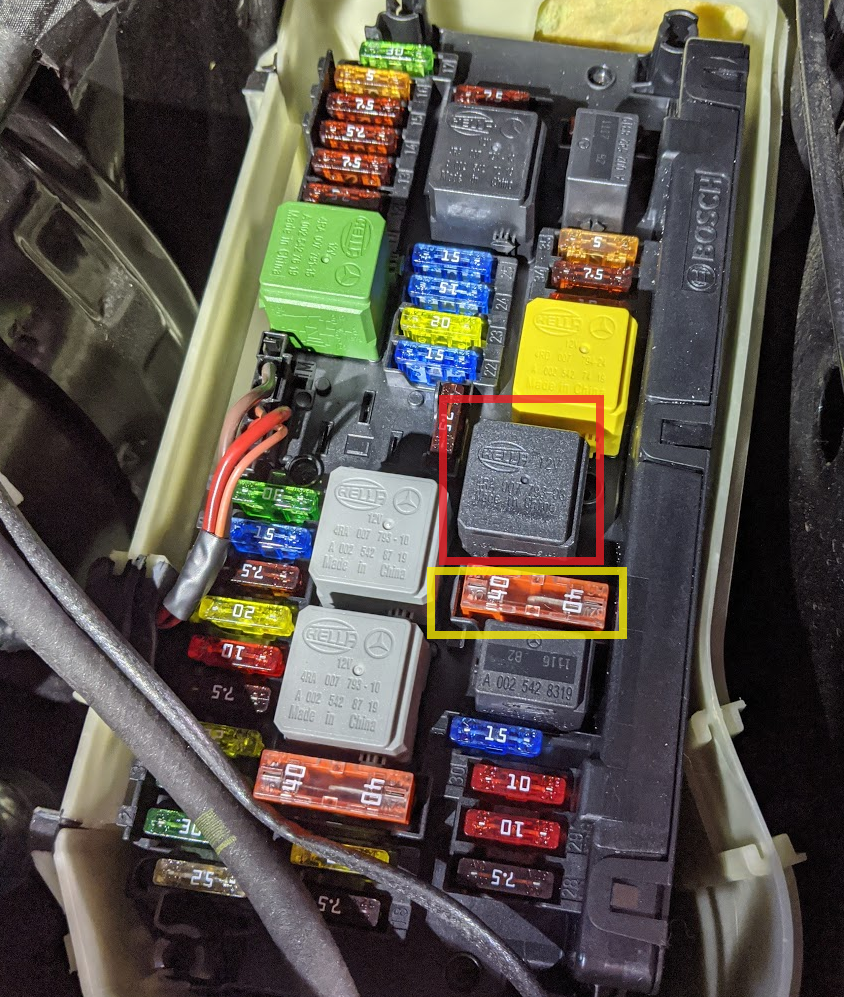
The relay is in position “P” in most diagrams. I highlighted it with a red box in the photo above, right next to the 40 Amp fuse for that pump that I did *NOT* replace (in yellow box). The photo already shows the new relay because the original one was grey like the others to the left of it.
Before I put everything back together, I checked that it worked and took another video for comparison. What a difference!
The car is very quiet again, and I am looking forward to dropping it off for service next week.