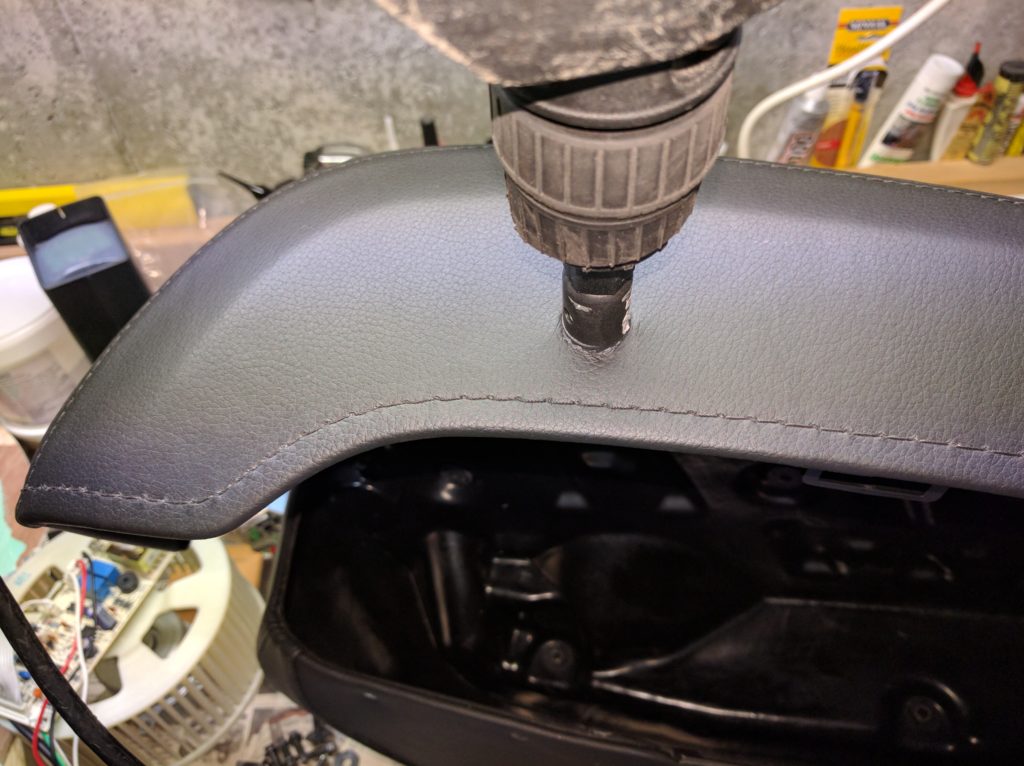
1. Drill holes
I used a 3/4 inch hole saw drill bit. The drill bit and 2 cabinet locks cost $20 at my local hardware store. I measured 7 inches from the front and a little under an inch from the edge. This seemed a good compromise between being close to the center and not interfering with the factory latch. I used only slight pressure and removed the built-up plastic half-way through the panel. I went with high speed to prevent the leather from getting caught.
2. Clean holes
I used the shop vac and a small Allen wrench from below to remove any plastic crumbs that got stuck in between the plastic wall and the leather.
3. Insert locks
This is the type of lock that I used. They come in different lengths for different panel thicknesses. 5/16th of an inch was the thinnest that I found:
Pay attention to the orientation of the lock washer on the lock. I used the short metal plate in one side, but on the other side it did not provide any locking action at all, so I replaced it with the longer one that was included in the package.
Note my little left/right cheats with permanent marker on the key. I wish they sold 2 of these locks with the same keys.
4. Tighten the nut
Once the lock is in place and correctly oriented and moves freely, it is time to fasten the lock nut with needle nose pliers.
The result looks reasonably professional and might deter a casual passer-by from trying, but does not really prevent the bag from opening. With a little force, the cover will lift up anyway. But I am more comfortable with leaving a jacket or gloves in the saddle bags now.
